AmiKit XE 11.5 on Raspberry Pi 4 and Pi 400
Today I am going to take a look at the new AmiKit XE 11.5 for Raspberry Pi 4, both on the Raspberry Pi 4B and also the newly released Raspberry Pi 400.
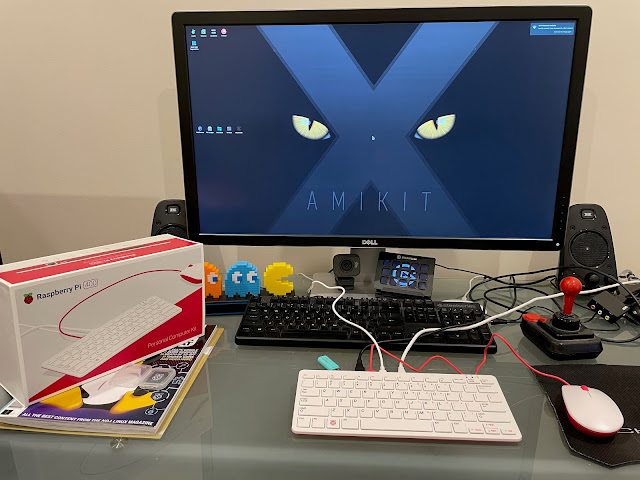
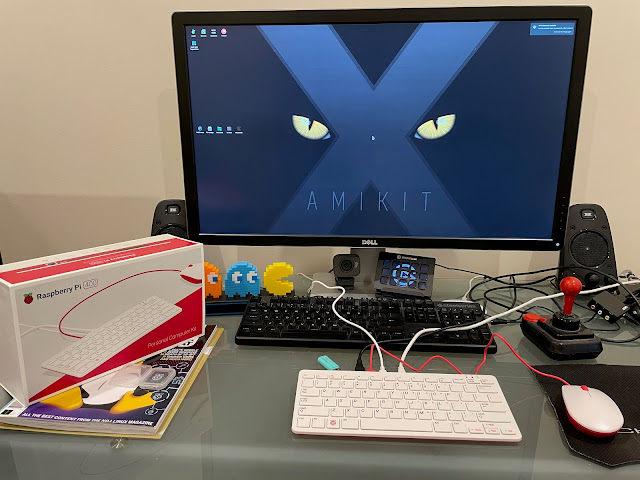
There has been a lot of excitement recently around the Raspberry Pi 4 and Pi 400 (all in one system built into the keyboard), as they can run emulated Amiga systems using the latest builds of Amiberry at full speed for the first time on a Pi.
Given the cheap price of a Raspberry Pi 4, this makes it a very exciting platform for people to have a nostalgic look back at Classic Amiga systems in an inexpensive way.
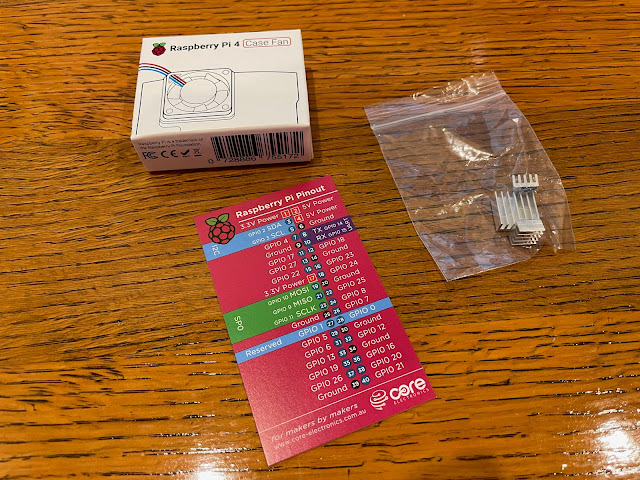
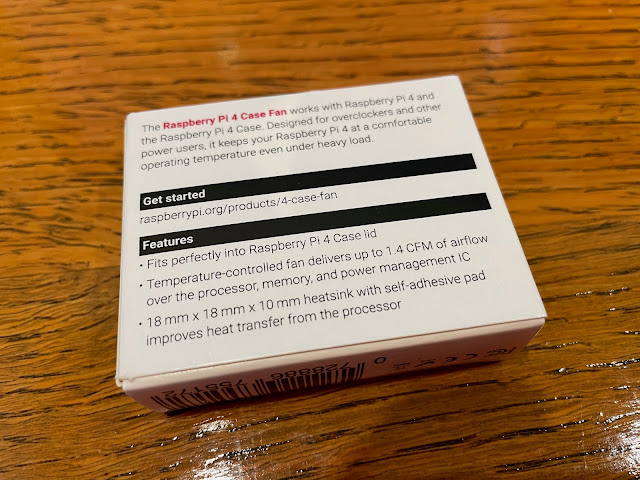
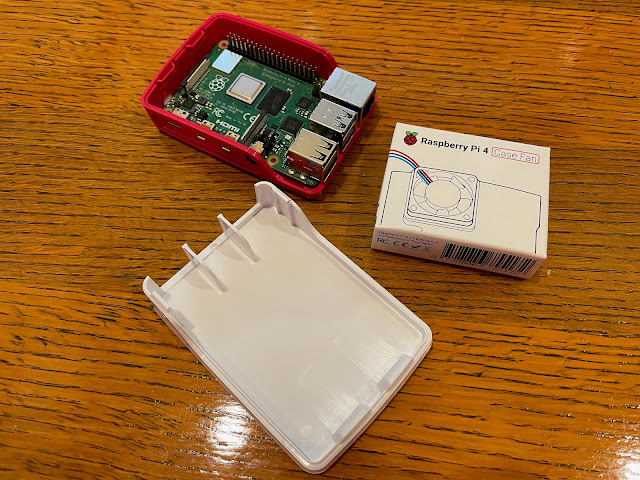
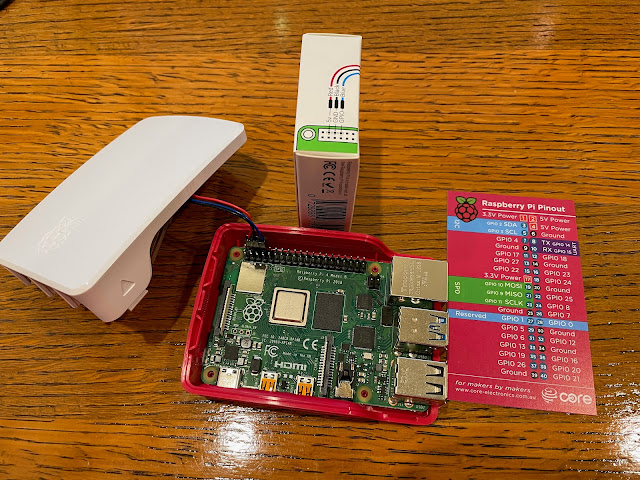
In reality, the installation of these bits is very straightforward and not complicated. The GPIO Pinout info is nice, but not needed for the installation.
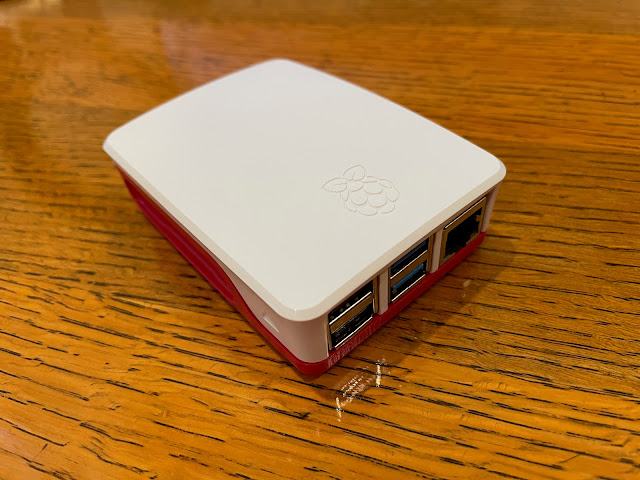
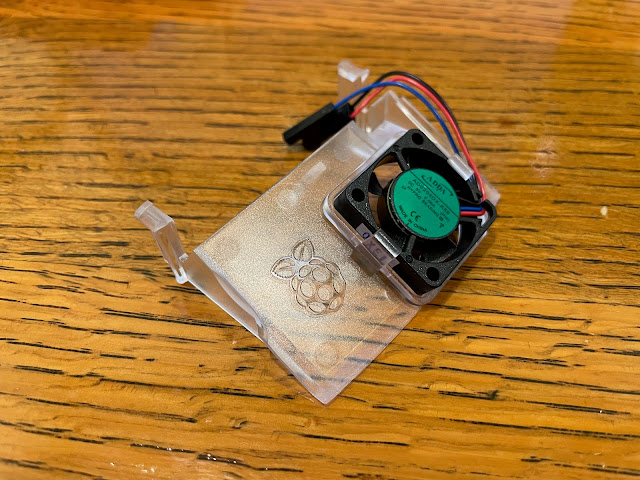
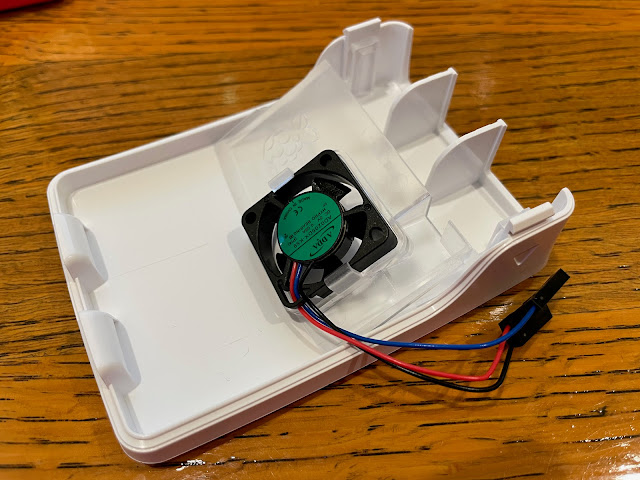
The fan comes already installed in a plastic casing designed to attached to the Raspberry Pi 4 official case top cover:
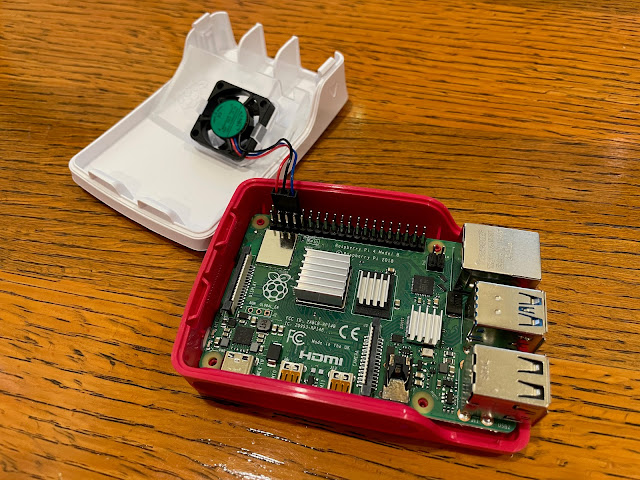
Here it is now installed and attached to the top cover - it clicks into place with no screws needed:
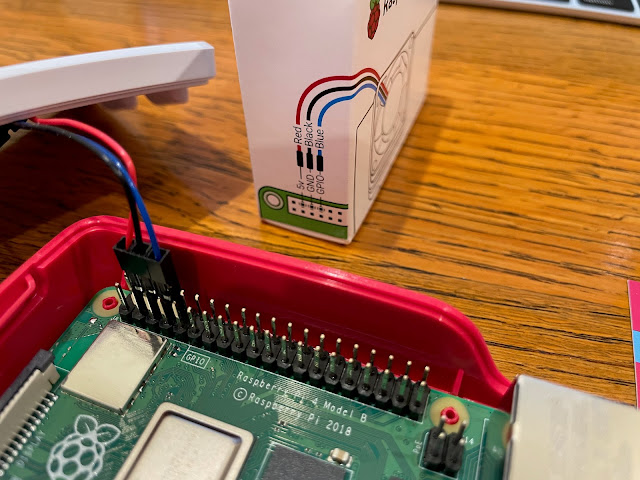
Next is to connect the Fan power connector pins and controller pin (for adjusting the speed of the fan or to turn it off) to the GPIO port on the Raspberry Pi 4:
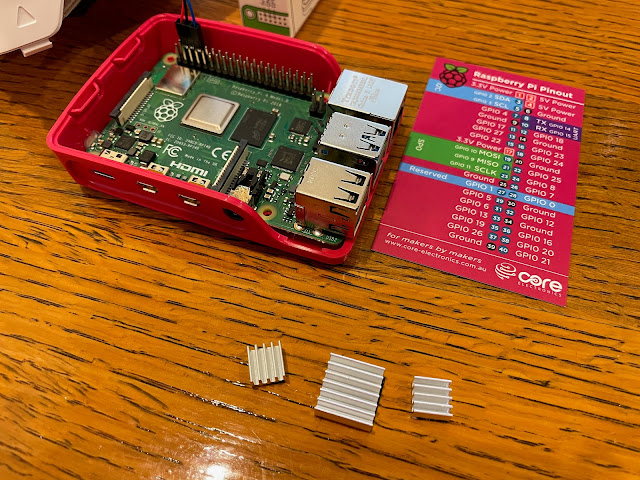
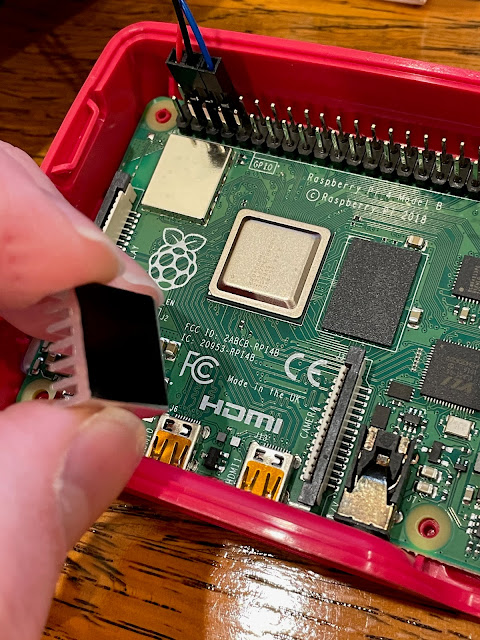
With that done, I now turned my attention to the heat sinks. Now the Pi 4 case fan included a single wide heat sink, designed to sit on the CPU. However, it was suggested to me to cover the other chips as well, so I bought the Pi 4 three heatsink pack for this purpose:
I attached the remaining heat sinks as below. The chip closest to the Ethernet port I couldn't put the heat sink on because the chip was too small, and the case cover can't close with a heat sink on that chip.
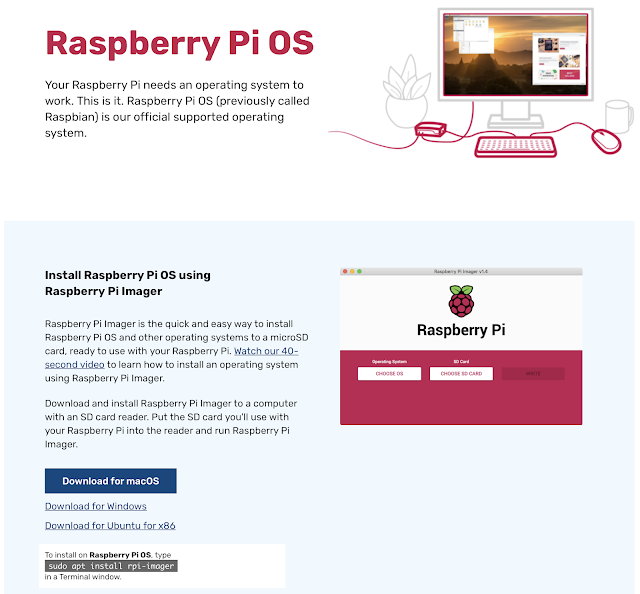
So, next up, let's download the Raspberry Pi Imager application. In my case, since I use a Mac Pro running MacOS Big Sur, so I downloaded the MacOS version:
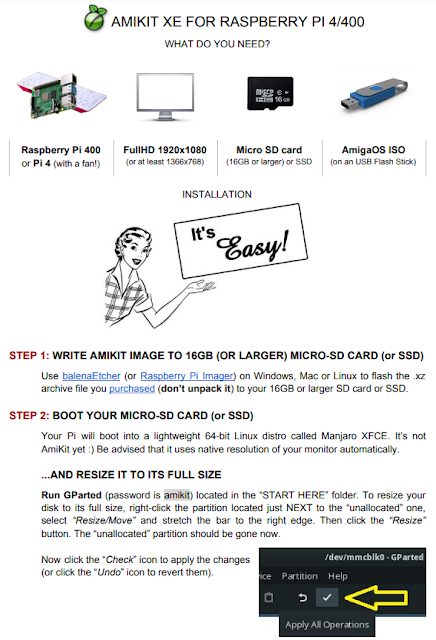
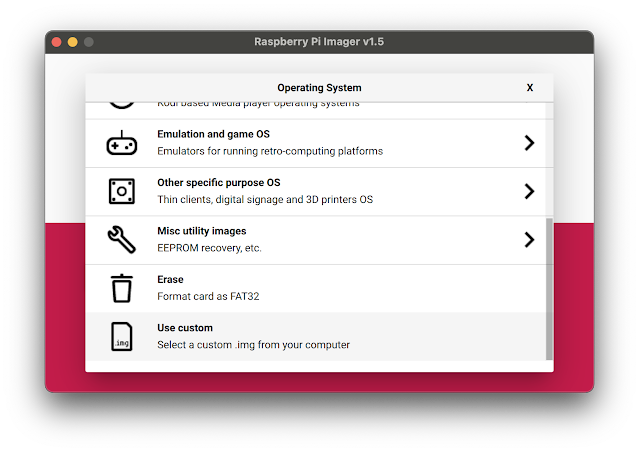
As per the AmiKit instructions, I select Use Custom under Operating System:
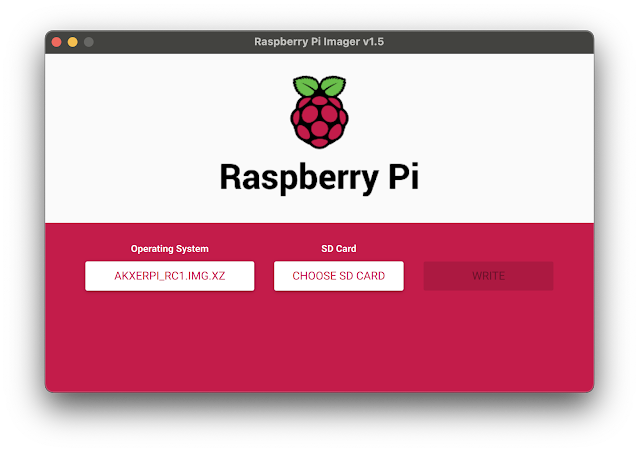
I then selected the AmiKit XE 11.5 image for Raspberry Pi I downloaded earlier.
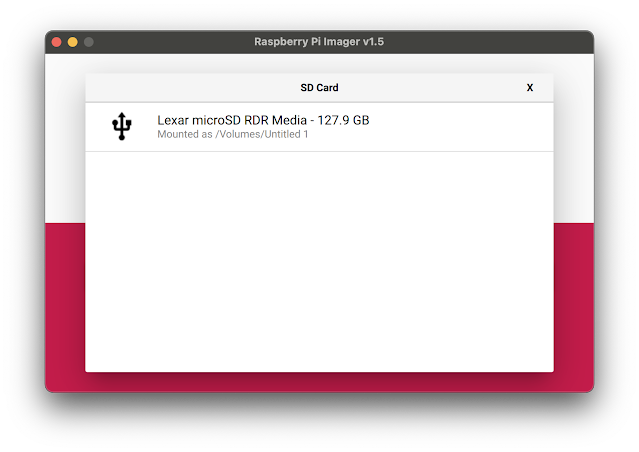
I selected a brand new 128GB MicroSD card I bought as the destination:
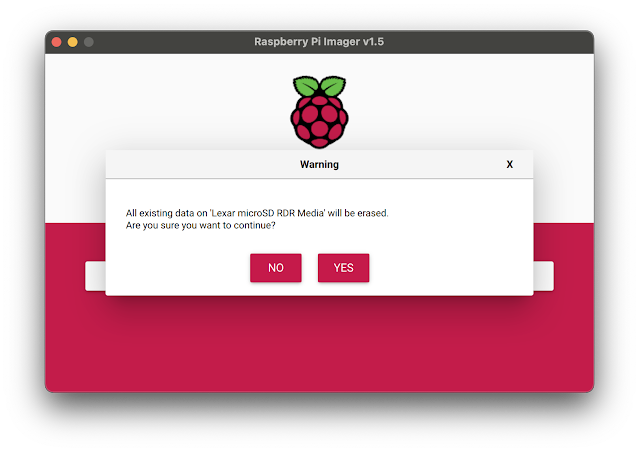
Ok, so now ready to write the AmiKit XE 11.5 image to the MicroSD card:
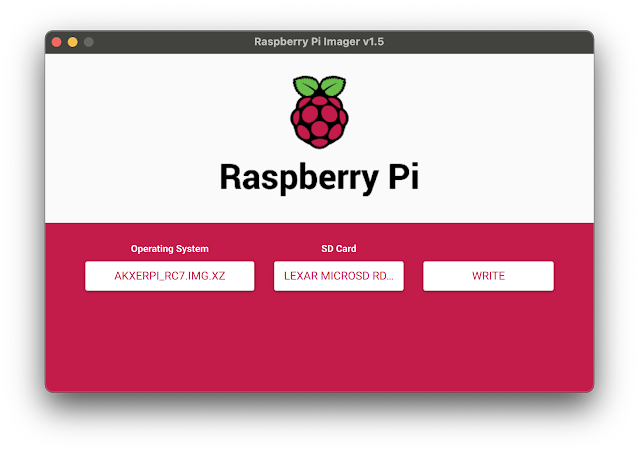
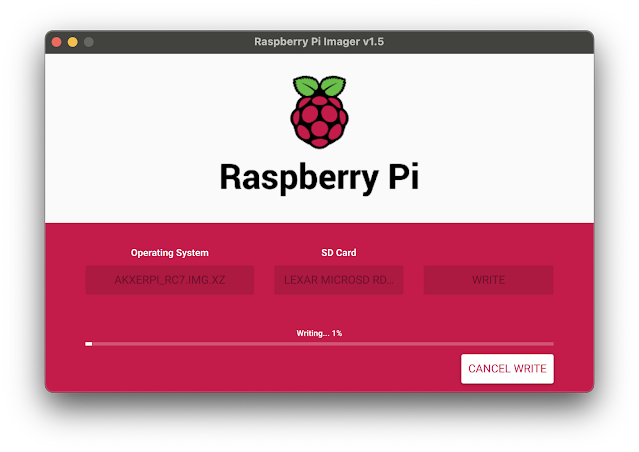
The AmiKit XE image for Raspberry Pi 4 is then written to the MicroSD card:
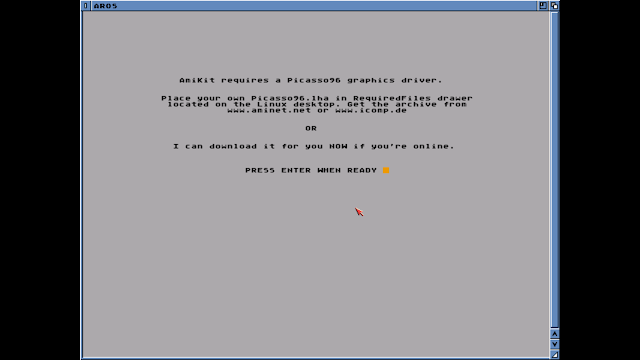
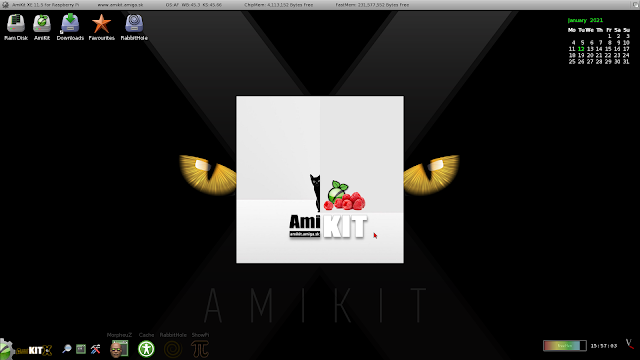
The stuff you need to get things going have been nicely arranged on the Desktop to make things easy to locate. The STARTHERE RequiredFiles draws your attention straight away.
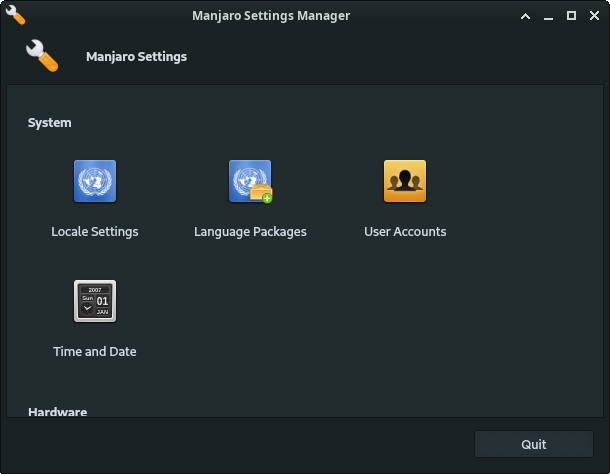
I changed the Timezone to Adelaide, Australia. It is set to Slovakia by default:
I drag the partition to the right side using the left mouse button to resize it - you can also enter the numbers yourself if you want:
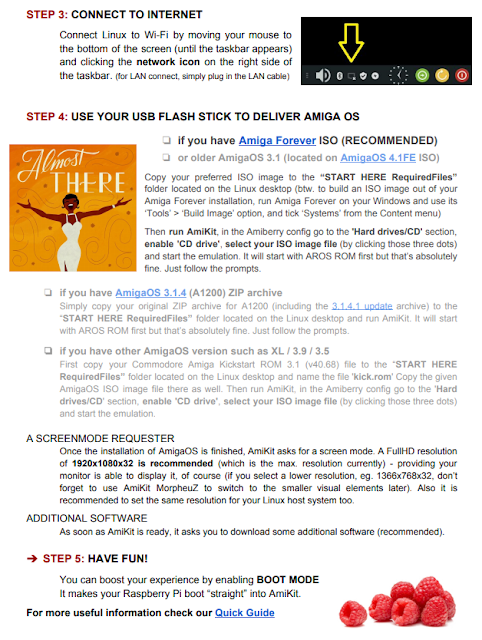
Now, for the AmiKit XE 11.5 installation it is recommended to drop the Amiga Forever ISO file into the Required Files folder. This is needed so that AmiKit can install the required copyrighted AmigaOS files and other pieces it needs as it builds the system.
Amiga Forever then prompts are below on what you want to include in the ISO. I stuck with the defaults as below:
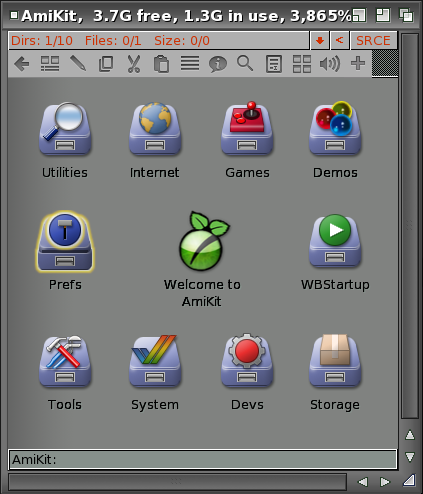
The settings shortcut via RabbitHole is very handy to quickly access Manjaro settings from within AmiKit XE:
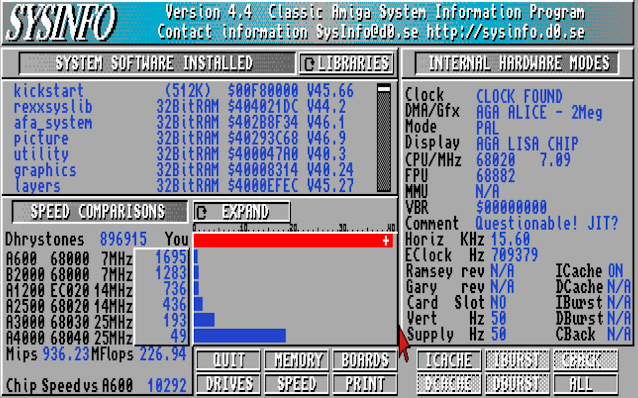
Open Tyrian and Metal Slug both run well in full screen:
For me, being able to run demos is quite important, and a number of demos are included with AmiKit XE to get you started. Thanks to the performance of the Raspberry Pi 4, I can now run TBL's stunning AGA demos full screen without any slowdown :-)
Here is the changed lines (for the Pi 400) with the comments removed:
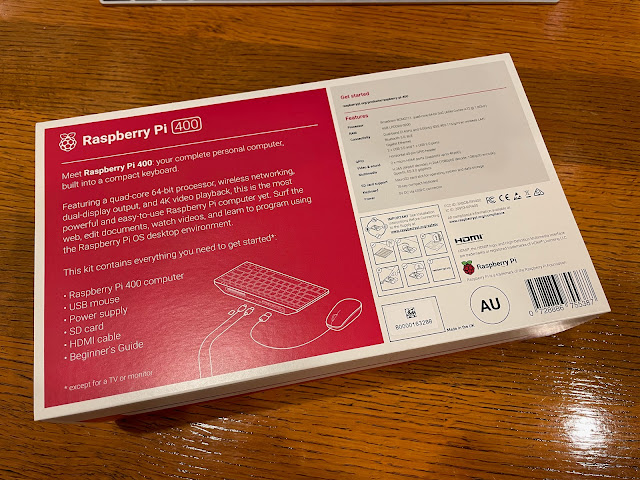
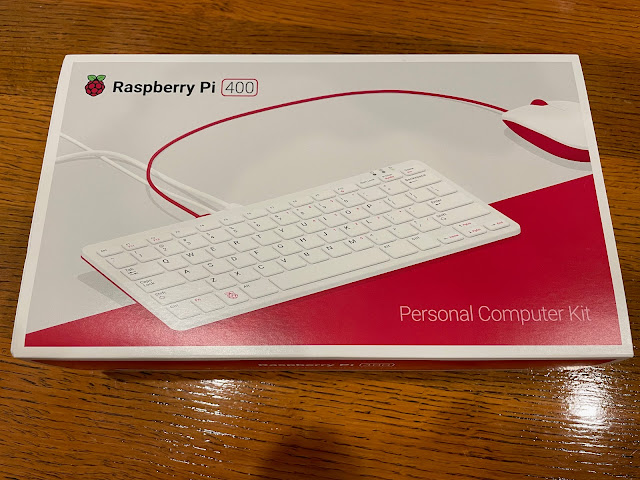
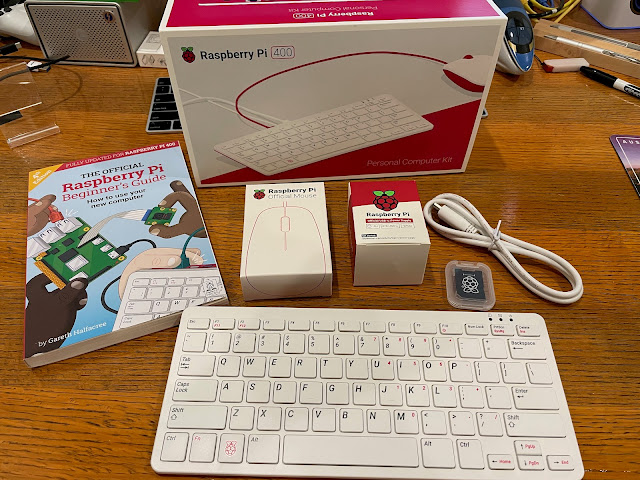
I ordered the Raspberry Pi 400 kit, which comes with the Pi 400 computer, a USB-C power supply, mini HDMI to HDMI cable, USB Pi mouse, a getting started book and a 16GB SD Card with NOOBS on it, already inserted into the Pi 400 MicroSD slot.
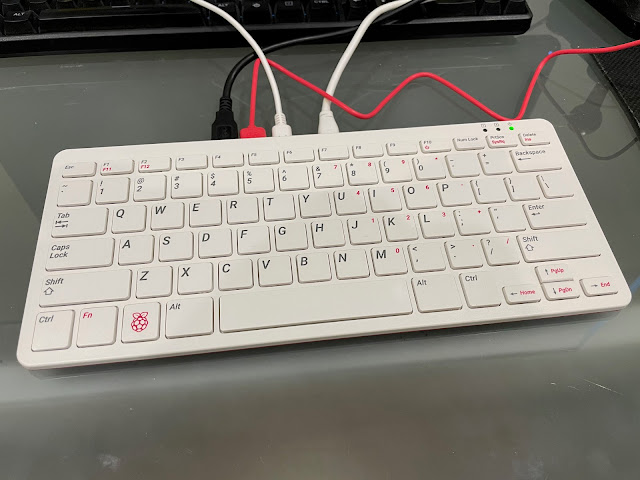
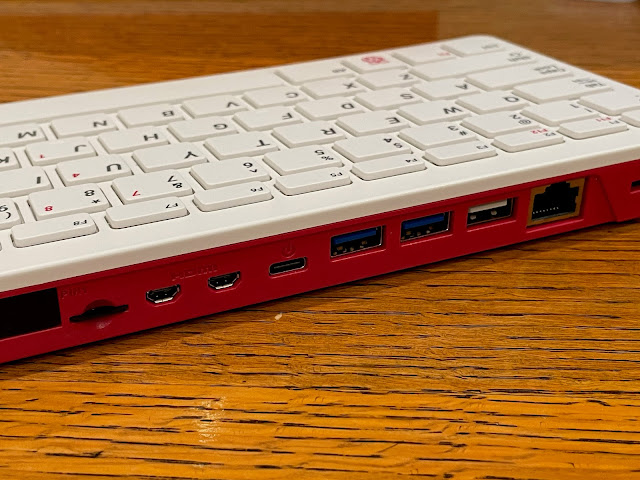
Here is a closer look at the Raspberry Pi 400 keyboard. It is basically identical to the Raspberry Pi keyboard I got with my Pi 4, except now it has the Pi 4 housed inside it, and the ports are all on the back of the keyboard:
