Alienware Aurora R7 Upgrade rebuild and BlueStacks Android
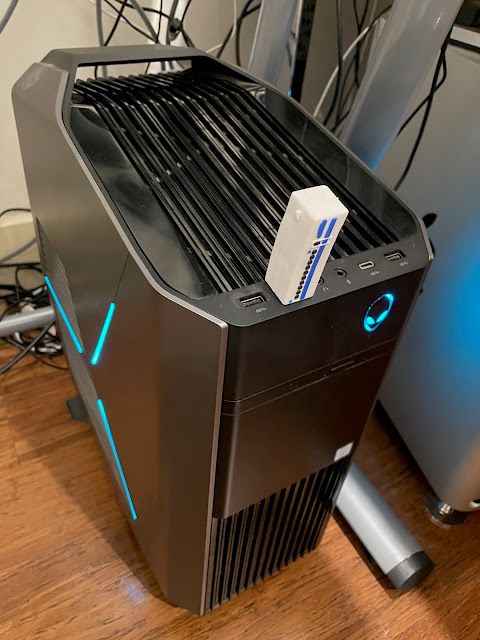
Recently I have been working on an upgrade and rebuild project on my Dad's last ever PC, an Alienware Aurora R7. Specifically, this Aurora R7:

Mum recently gave me this PC as a thank you. Mum knows I like to do gaming on PC and didn't want to see it gathering dust unused after Dad passed away in January, so I am very grateful to have it.
My current gaming computer is an Alienware 15 R3 laptop, which is now over 5 years old. I was planning to replace it this year, but with the price of current top end 3090 RTX graphics cards edging close to AUD$4000 (!), and Aurora systems nudging AUD$10,000 once upgraded, I changed my mind.
I decided I would re-purpose Dad's PC as my main gaming PC for another year or two, when it too reaches its logical 5 year end of life for modern game requirements and needs replacement.
Hopefully by then the component supply shortages will have calmed down, graphics card prices will have come back down to something sane, and hopefully the bitcoin and similar cryptocurrency value sinks without a trace so that miners stop buying up all these gamers high end graphics cards, robbing us gamers of cards intended for gaming!
The Aurora R7 is a surprisingly small packaged MIDI tower PC. The machine has a Core i7 8700 ( up to 4.5Ghz) 6 Core CPU, 16GB memory, Nvidia GTX 1070 OEM graphics card, 256GB SSD boot drive and 1TB backup SATA disk, running Windows 10.
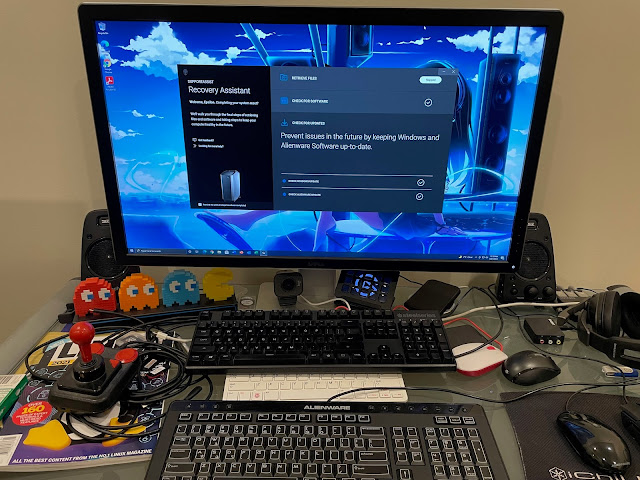
I first set to work upgrading the firmware on the machine to the latest versions.
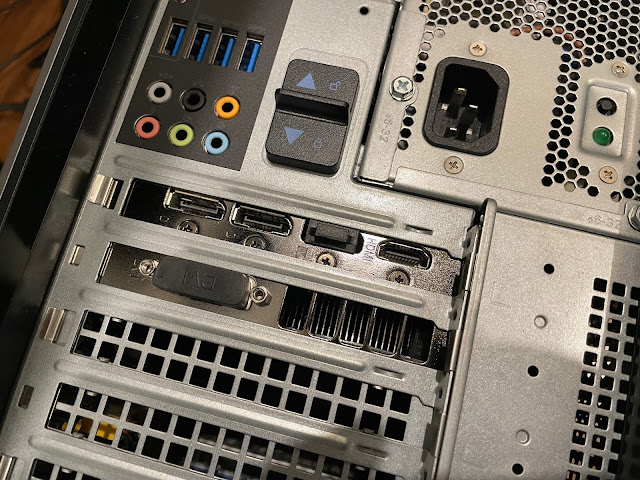
Here is a closer look at the machine itself, from the rear. The power supply is unusually located for a MIDI tower case, about half way up.
There are no shortage of USB3, USB2 ports and also a USB-C port on the back (also on the top at the front).
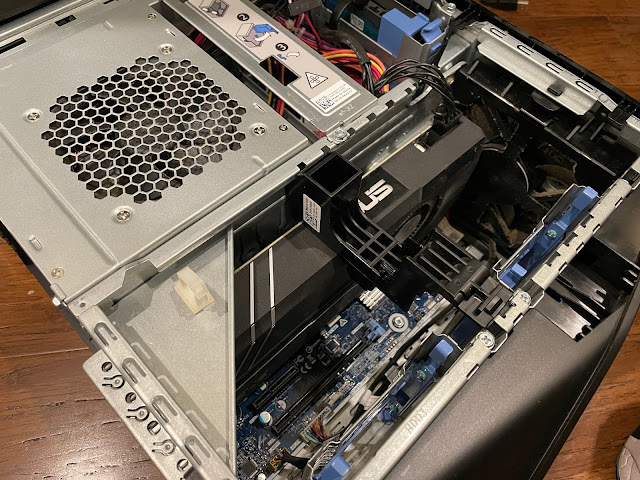
With two clips on the back set to the unlock position, the PSU tray swings up, exposing the CPU and memory:
A closer look at the motherboard of the Aurora R7 is below. You can see a plastic retaining clip that sits on the top and sides of the graphics card, connected to the chassis frame and power supply tray when closed. This prevents the card from pulling too hard on the PCI-e connector. It is easy to remove without tools.
I needed to remove the graphics card next, which was fiddly as the release catch at the underside is hard to push down for some reason. I got it in the end though:
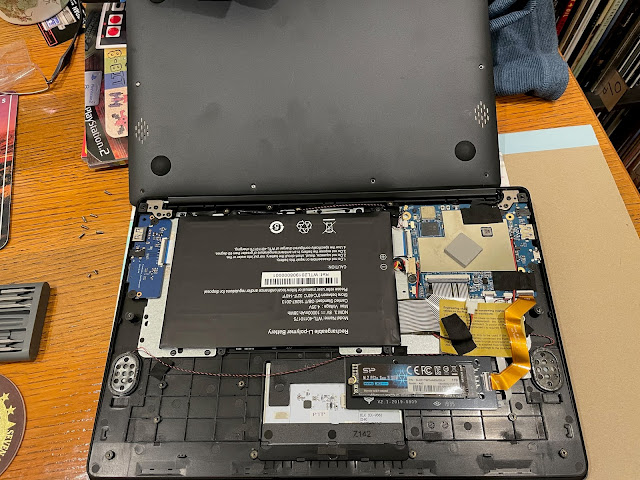
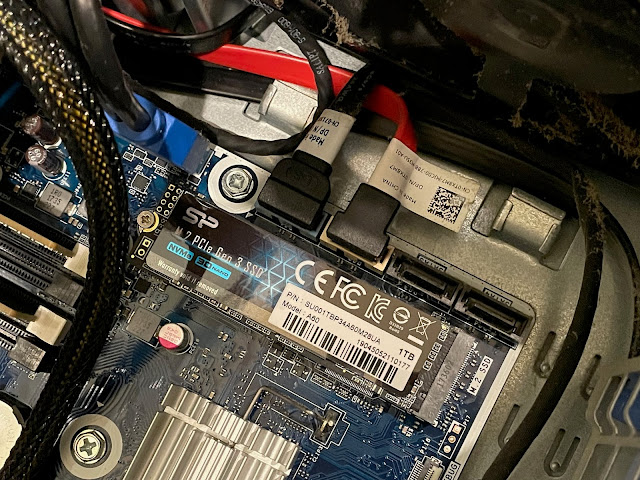
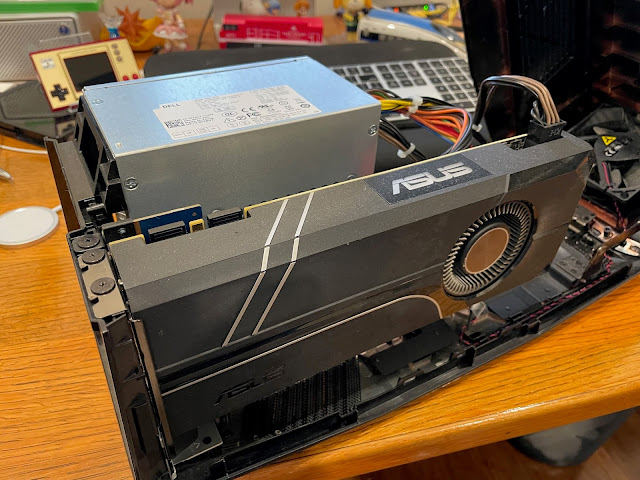
Here it is now removed. NVMe SSD's are screwed in to keep them in place. It is important not to lose the screw!
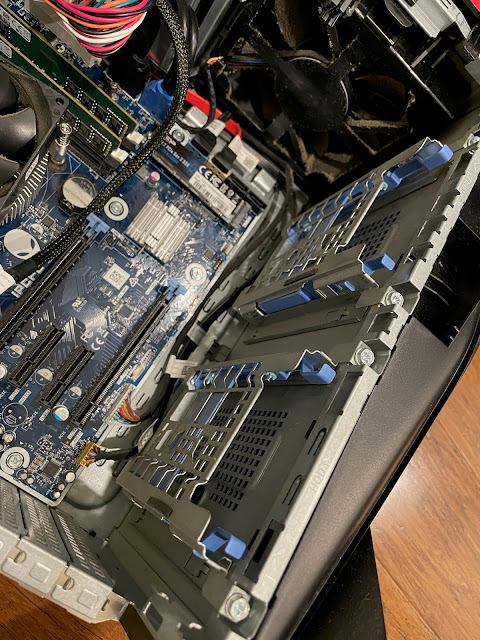
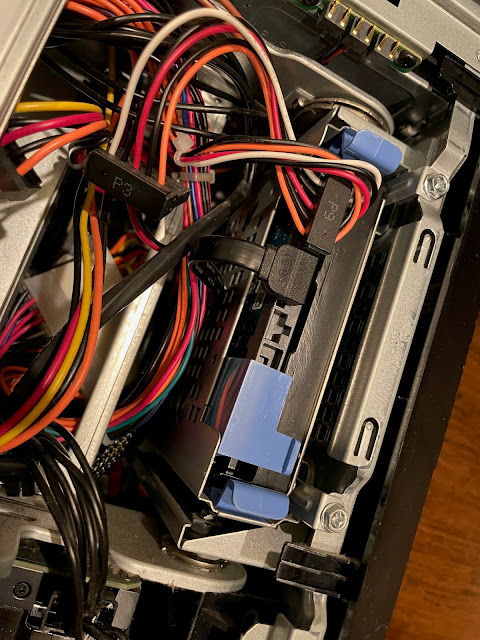
It was at this point that my attention was drawn to the 2x2.5 inch empty SATA enclosures (below) in the case, and the two empty SATA connectors on the board in the photo above.
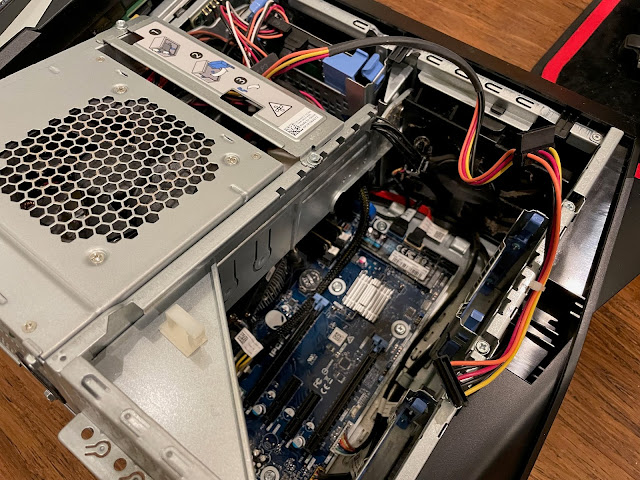
I checked the power supply and noted that there are also two free SATA power connectors which naturally reach to both enclosures. So I think a SATA SSD hard disk upgrade is on the cards. You can also see the 1TB 3.5 inch sata hard disk in the top left of the photo below - I plan to upgrade that too :-)
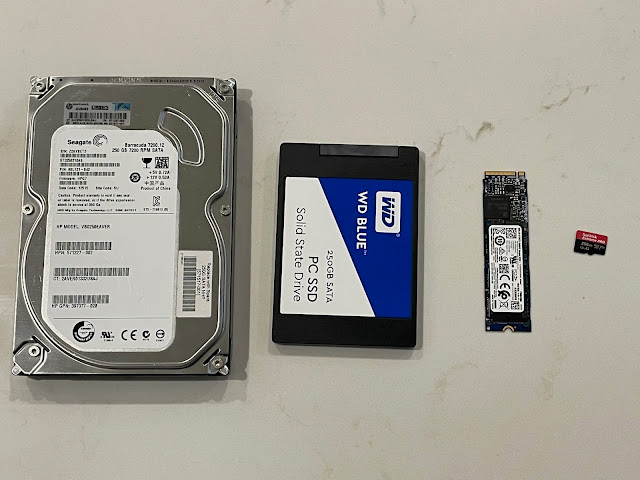
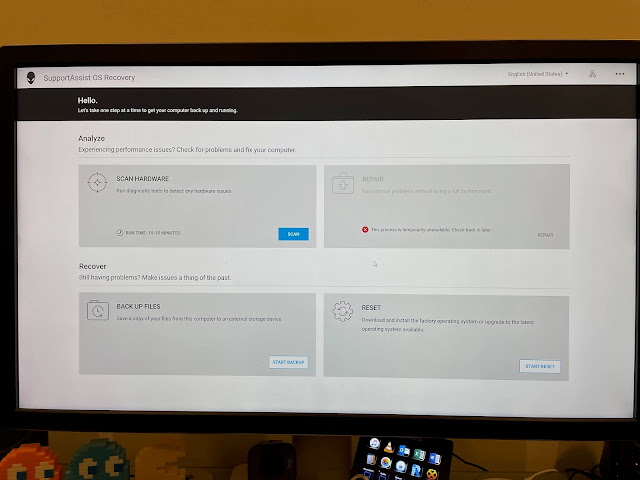
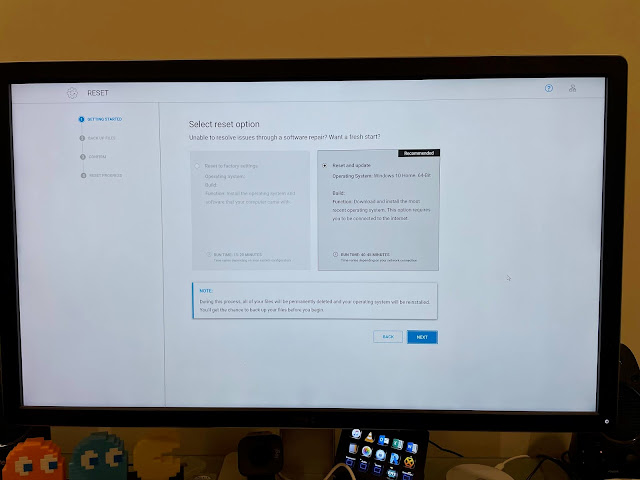
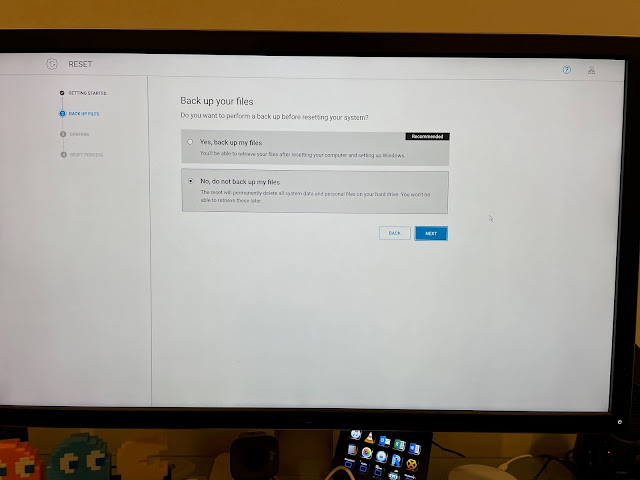
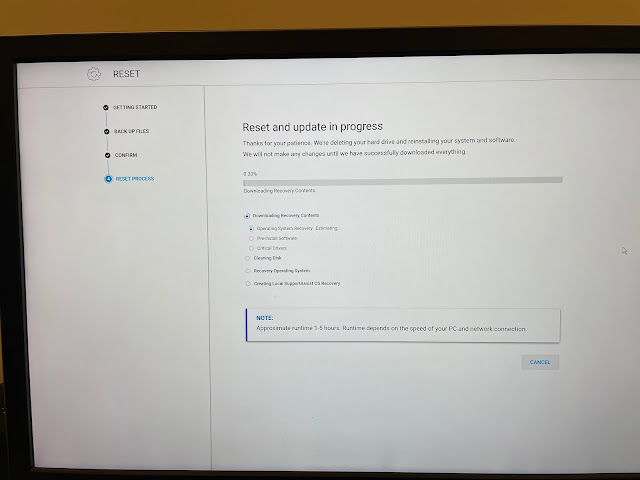
Moving back to the build, I am more concerned about rebuilding the Windows 10 system on the 1TB boot drive I installed. The challenge with this is that the hard disk is not the one that came with the system and has no recovery partition. I thought I would be ok here as Dad had backed up the 256GB SSD to the 1TB SATA hard disk.
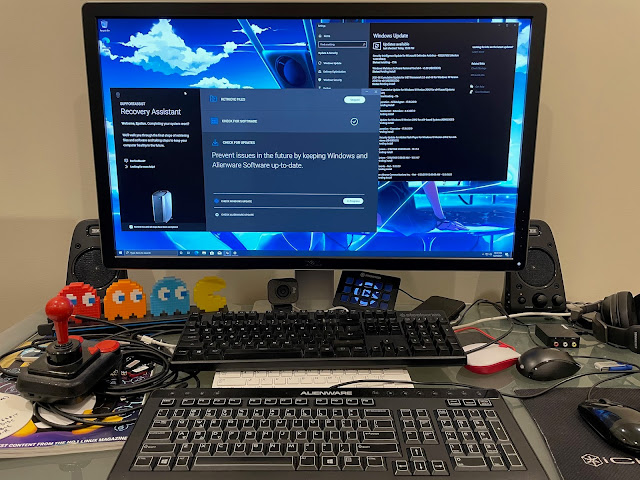
For the record, the standard Alienware keyboard that comes with the Aurora R7 (and newer models) is complete crap. I hate it, the keys are rubbish and it looks awful. Dad hated it too, but he didn't want to pay extra for the mechanical RGB keyboard they sell for AUD$400...fortunately I already have a Steelseries mechanical keyboard (Pictured below, above the Alienware keyboard) and I plan to use it as this computer's keyboard when this build is all finished.
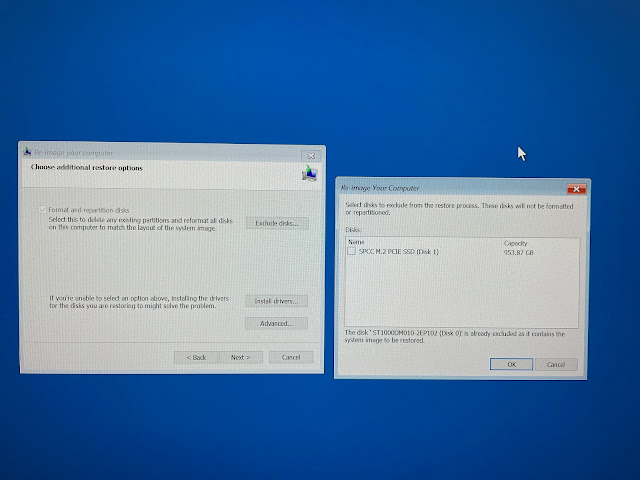
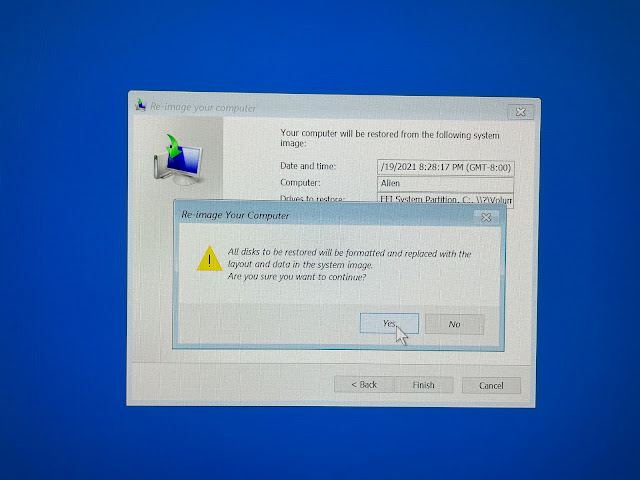
Because the 1TB SSD was originally formatted for Linux, it needs reformatting and partitioning, and the recovery wizard informs me of this point:
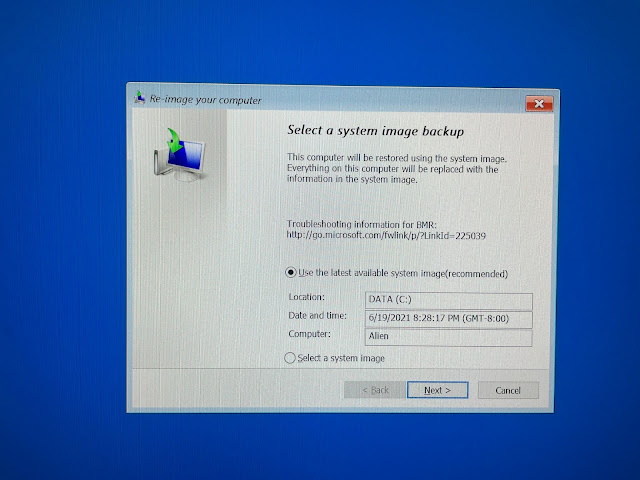
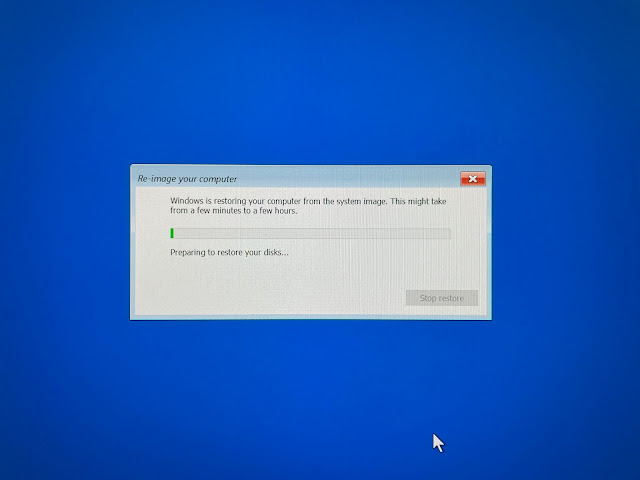
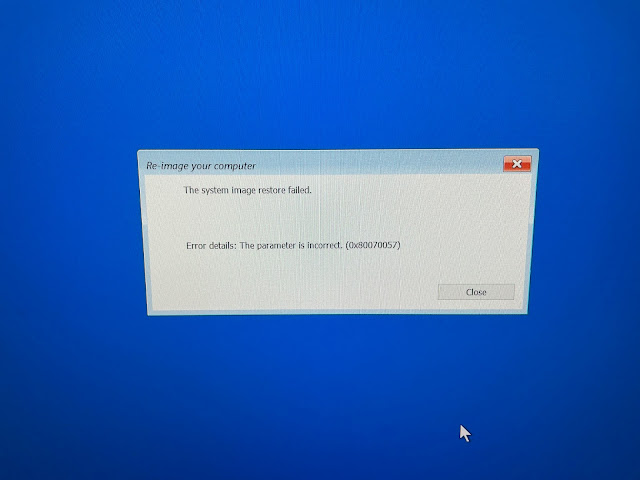
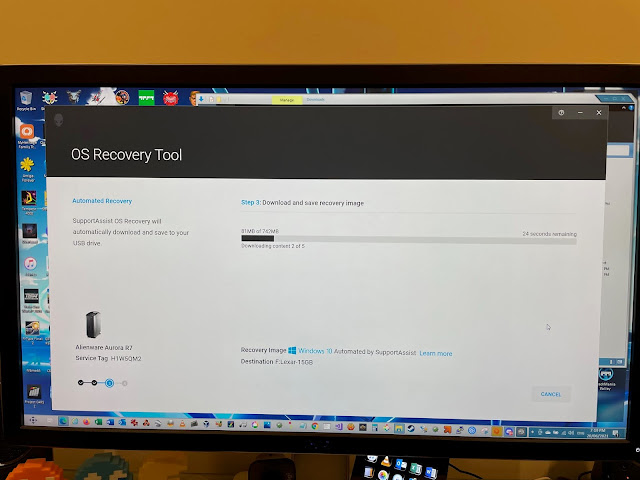
I tried this a few times and always got the same error. It seems the backup/restore process relies on the destination hard disk being exactly the same size as the original source backup...great.
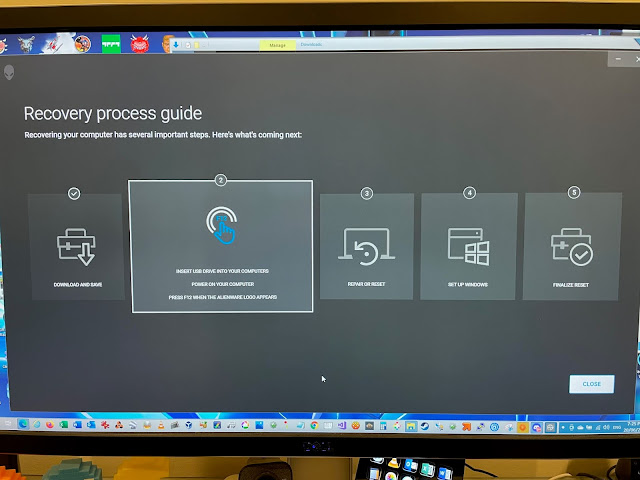
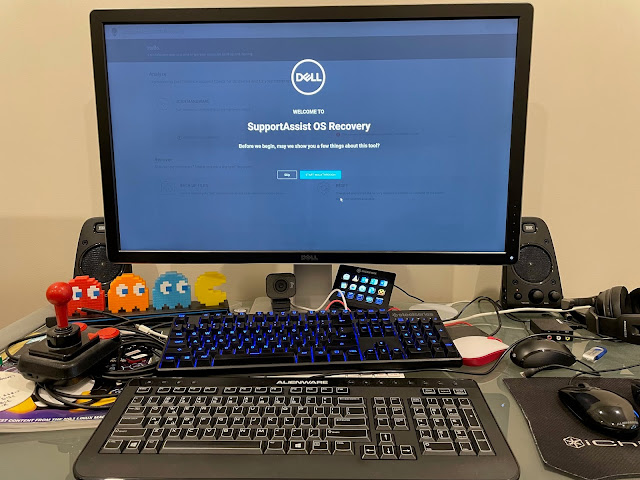
The software has a helpful step by step guide on what you need to do and what will happen - very nice.
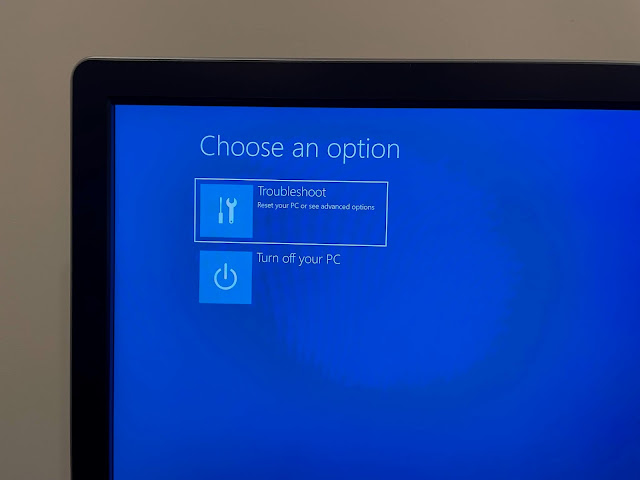
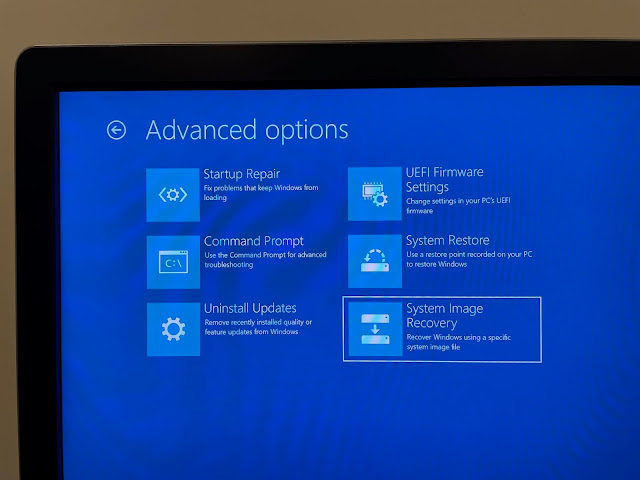
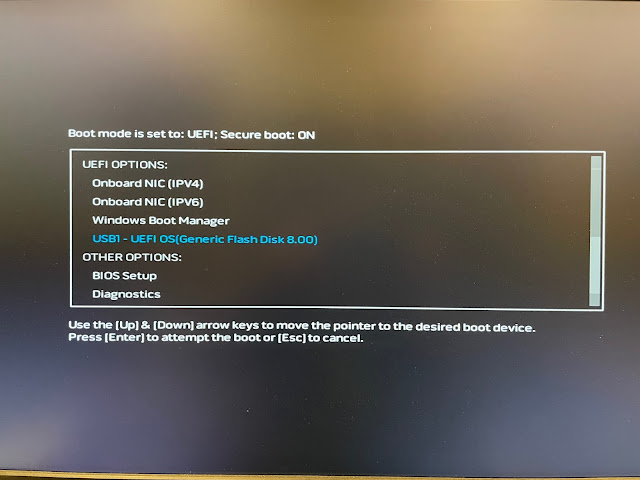
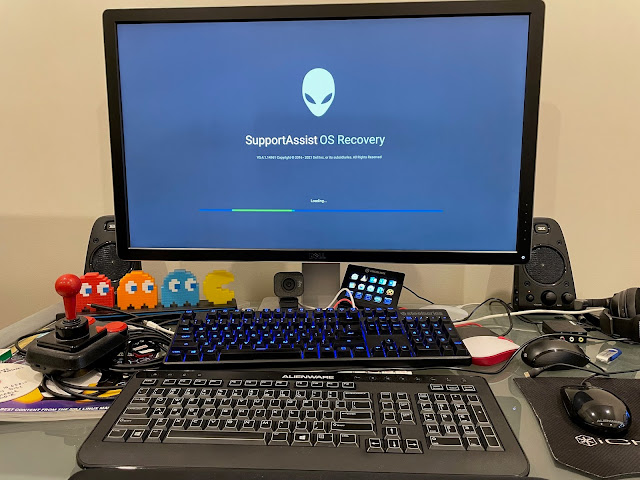
With the Recovery OS USB image installed on the USB stick, I connected it to the Aurora R7 and booted from it from the F11 boot option menu:
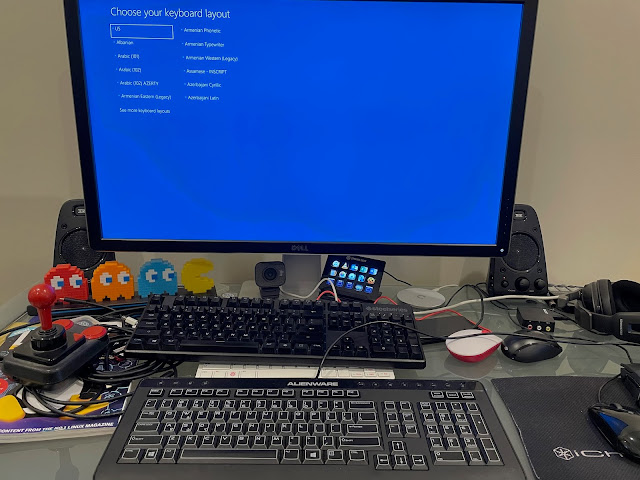
On reboot I walked through the usual setup of the region, keyboard and user account, and note it nicely shows the next step of the process (which started from the other machine I download the recovery os image from):
All done! I now have a working and fully patched Windows 10 install on the Aurora R7 1TB NVMe SSD disk!
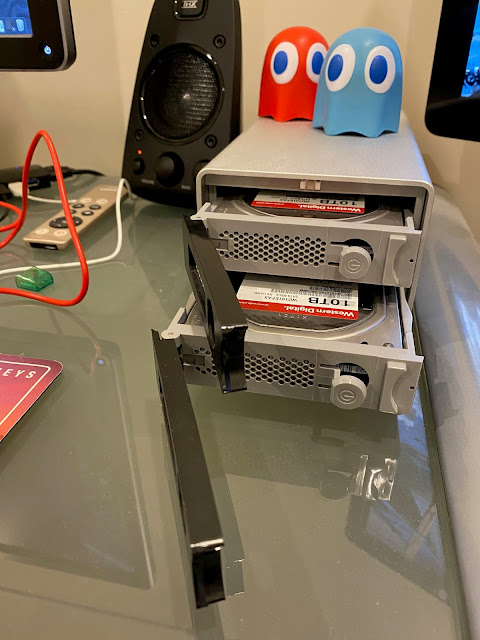
Next task is replacing the backup 1TB SATA fixed disk with a bigger one. When I upgraded the backup disks in my time machine hard disk raid connected to my main Mac Pro to 2x10TB hard disks, I was left with two 4TB SATA disks from the original time machine setup.
One of 4TB disks I put into the Mac Pro as extra storage, leaving one spare. So now the final spare 4TB disk will be re-used again in the Aurora R7. Everything I replace gets used again eventually or handed down to other family members to use if they want it - minimal wastage!
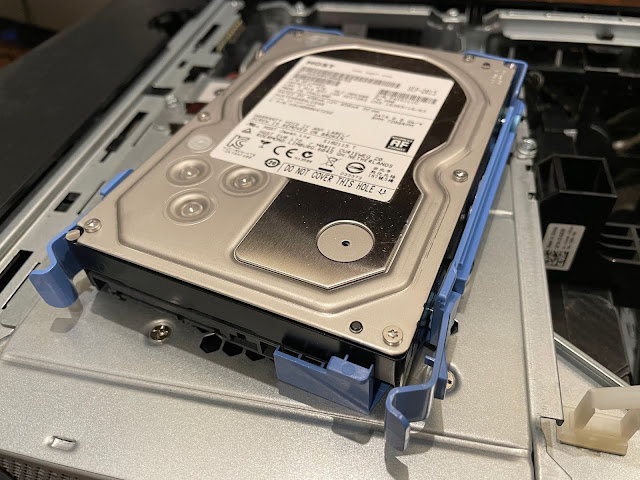
I shutdown the system, opened the case again, removed the 1TB disk and put in the 4TB disk into the blue plastic enclosure:
Here it is connected in:
While I had the case open, I decided to tackle the next upgrade for the Aurora R7. My Alienware 15 R3 laptop uses an external housing called the Alienware Graphics Amplifier. I bought this with the laptop, as I expected that over the 5 years life I expected for the laptop I would need to upgrade the GTX 1070 inbuilt card with a newer card, and this is the way Alienware supported doing that with that laptop.
I didn't need it until 2 years ago. For the last 2 years, I set it up and bought a Nvidia GTX 1080 graphics card to install in the Graphics amplifier, as below:
It works very well for all modern games. I know I am missing out on some newer games using that RTX Raytracing functionality, which is not on the 1080GTX, but that is only a handful of titles.
I did consider upgrading to a 3070 RTX card (which offers better performance than the 1080gtx and still fits in the Aurora R7 case), but it also needs a PSU upgrade as the one in this is only 450W and it needs to be at least 650W to support that card. As this adds a lot more cost to this already 3 year old machine, it makes little sense to me to do this. Who knows, maybe I'll change my mind later on! Heh.
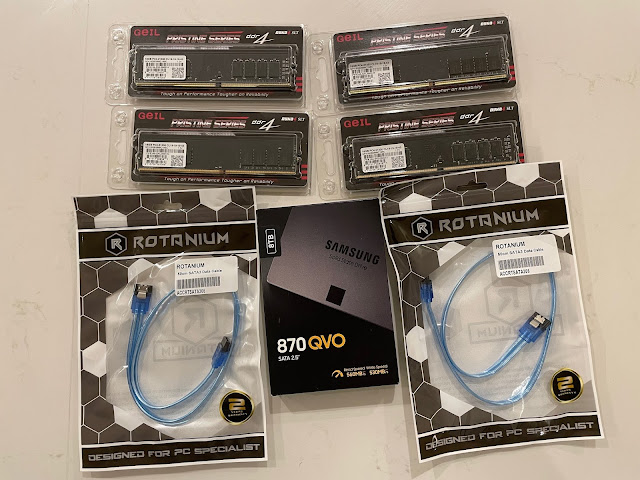
At this point, I decided I did need to buy some new stuff for the Aurora R7. One of the problems with the old Alienware 15 R3 laptop I use is storage. It has 3x1TB disks in it, and they are totally full now.
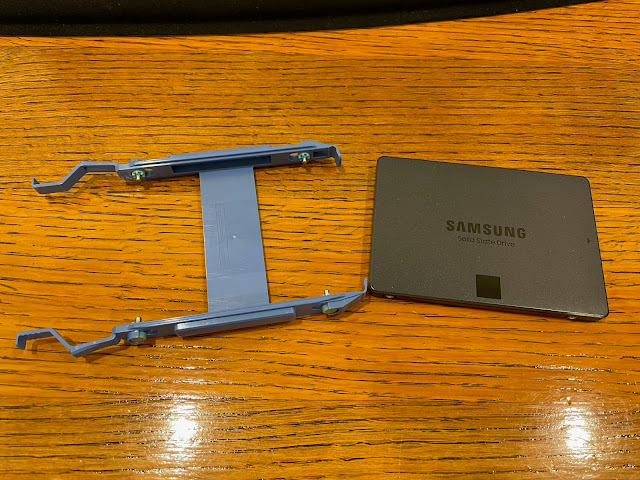
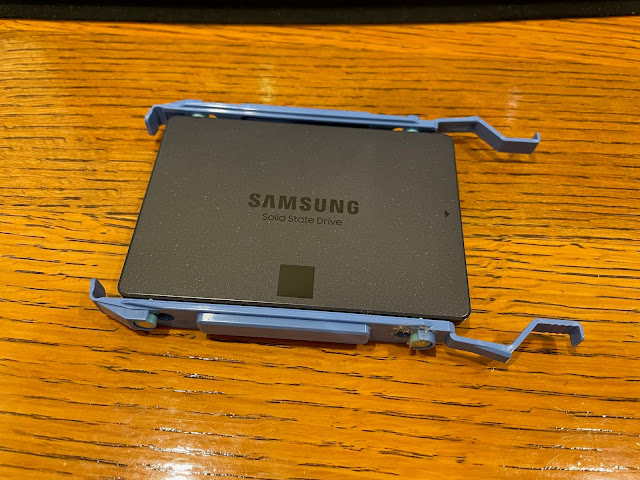
You'll notice there are no screws here at all. just bend out the plastic and the "screws" fit into the screw holes on the drive with no screwdriver needed. Nice.
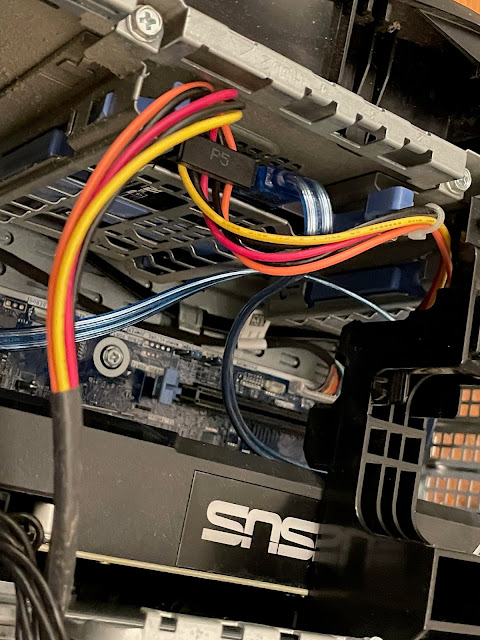
Here is the new 8TB SSD disk installed in the 2.5 inch enclosure and wired up with the SATA data and power cables, ready to go.
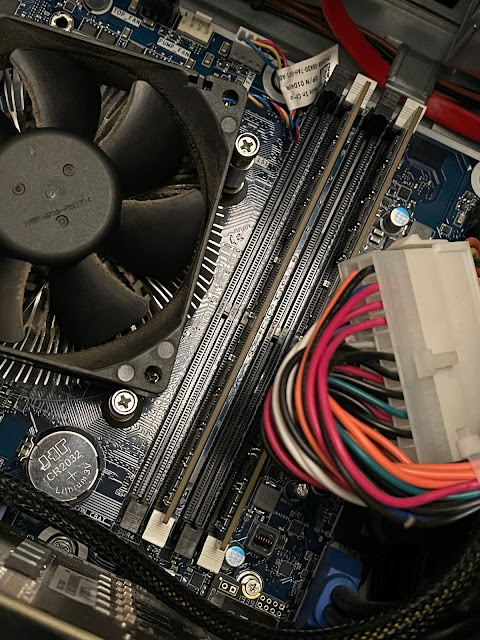
Next I needed to upgrade the memory, which meant opening the PSU tray and removing the existing 2x8GB memory cards currently installed:
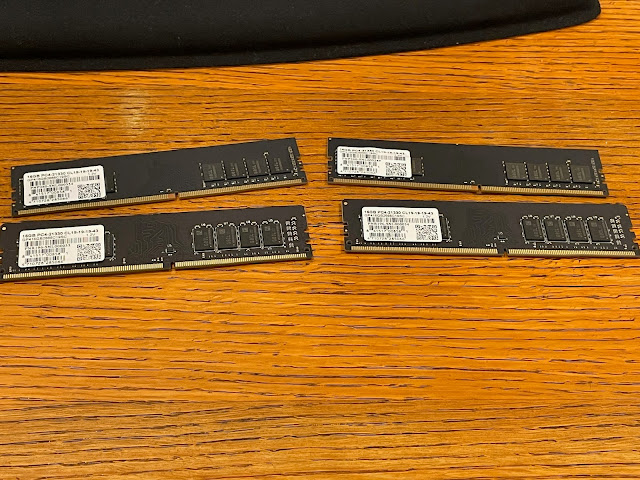
Below are the new 4x16GB DDR4 memory cards. I carefully chose the speed of the memory to match the memory bus speed of the system. No point in paying extra for memory that clocks faster than the memory bus can work at. You can buy more expensive ones with bling rgb lighting and other fancy things.
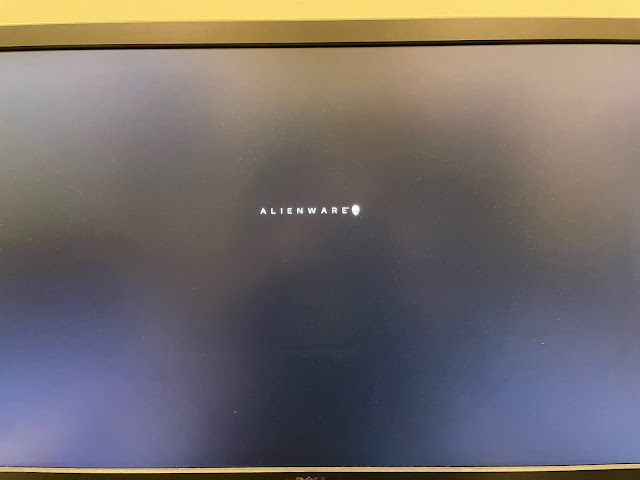
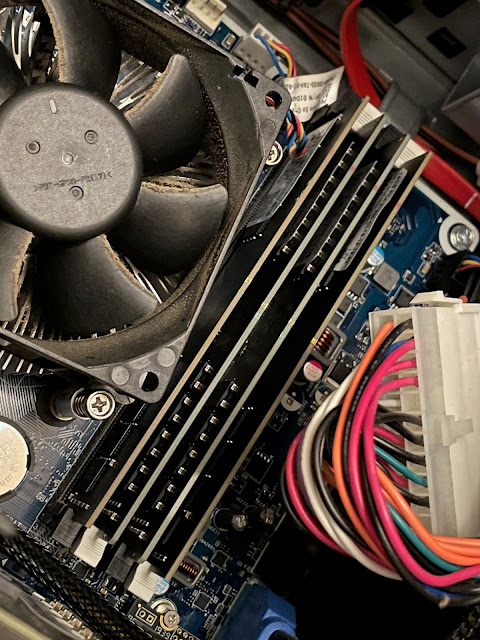
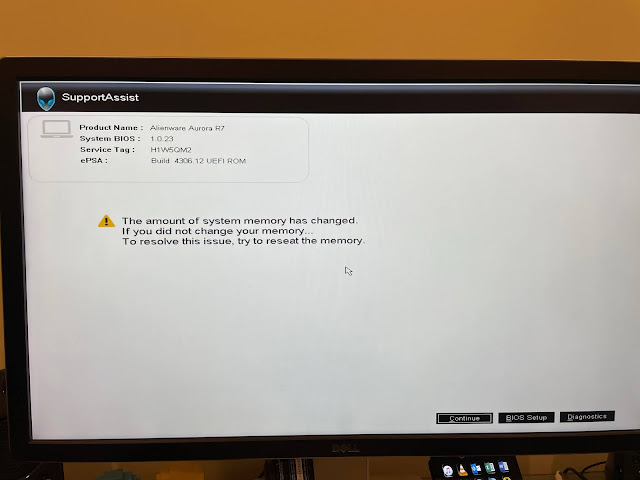
I closed up the case again and powered on the Aurora R7. The BIOS detects the memory change and points it out straight away.
I then booted up the Aurora R7 as normal, now with the Nvidia 1080 GTX graphics card, 64gb memory and 8TB SSD and 4TB SATA fixed disk installed. Very nice setup now!
I went into Disk management to prepare the new 8TB hard disk:
Here you can see the disk layout:
I formatted the new 8TB disk as NTFS, quick format, and soon after it is ready for use:
I then moved onto the very tedious task of migrating all my data from the Alienware 15 R3 laptop, setting up all the various gaming platforms like Steam, UPlay, Battle.Net, downloading terabytes of data...
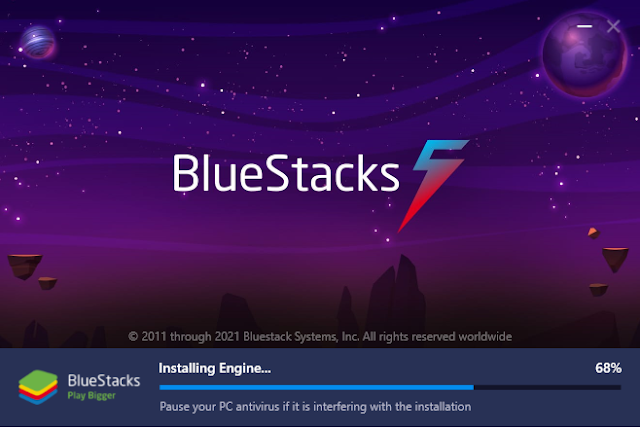
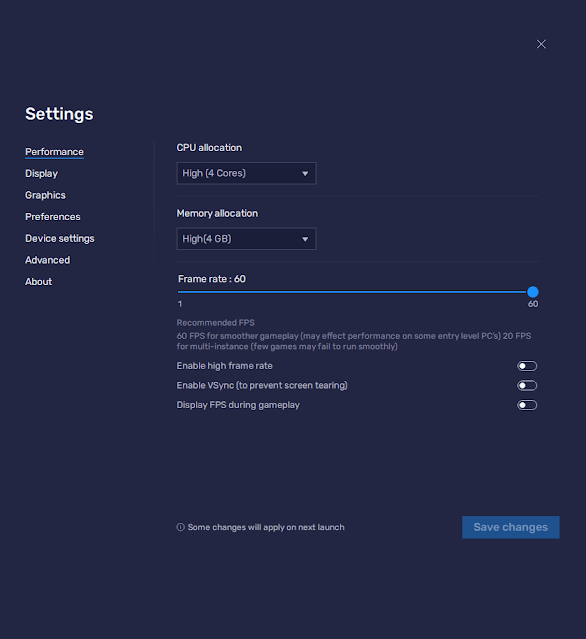
One thing I did install, that I hadn't played with before, is BlueStacks. Not sure if you know about this, but it is a way to run Android applications under Windows 10. It got my attention with the recent announcement of Windows 11 planning to support Android Apps via Amazon App store connection to the Windows store.
With BlueStacks, Windows 10 can have this functionality today, and it is free. I decided to try it out:
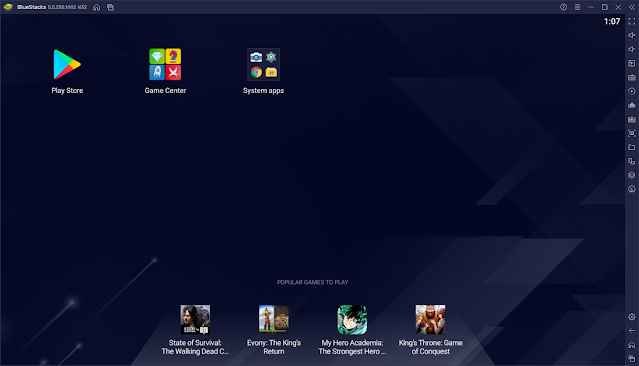
After preparing itself, it shows an Android home screen, ready to use:
I logged myself into the Google Play Store so I could download apps I already use on Android. Actually, I don't use Android much at home as I prefer iOS, but Android is common out there in IT land, so I keep an Android tablet to keep my skills up to date on this platform for professional work.
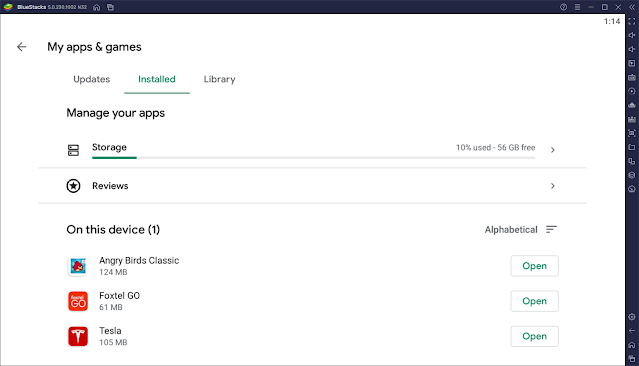
Here some apps, and I downloaded some to play with - being able to use the Tesla Android app on Windows 10 for the first time sounds pretty cool, so I decided to try that, and some games, because, you know, just because:
But I can see via there app historically the bad performance today is not usually the case - it is Winter here after all. I generally average 70-80% non-grid power usage each day, depending on the amount of sun.
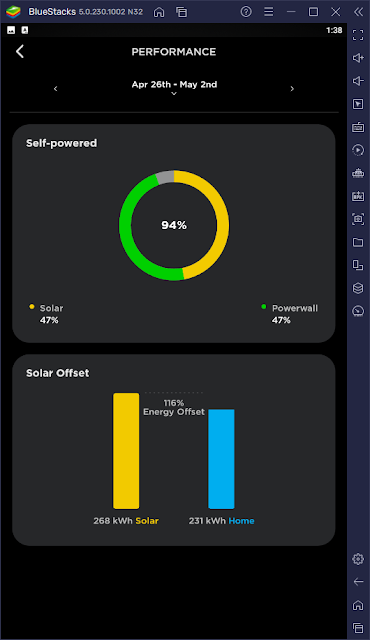
Nice part is having Bluestacks sitting on my Windows 10 desktop on the Aurora R7 while I work on other things.
Turning to gaming, which is what this machine is for after all, I fire up Angry Birds Android version in BlueStacks.
It runs perfectly. Even though I have to use the mouse rather than touch, for this game it works well:
I tried Minion Rush Android version using BlueStacks, which runs fine but a little bit more challenging to use without touch:
Last thing to mention here is I decide to install the latest Beta version of WinAmp. Why you ask? Well, I have already used all my 5 authorised Apple ID's for iTunes on current machines, so I decided to use something else to play music on the Aurora R7.
Sorry but I will end the post here as some games now all loaded on the Aurora R7 are now demanding my attention! :-)


