PiMiga v1.2b for Raspberry Pi 4B
This weekend I decided to take a look at the recently released PiMiga V1.2B Lockdown Edition pre-setup Amiga emulation Amiga 1200/4000 build for Raspberry Pi 4.
I picked mine up locally in AU for $59 from Core Electronics. As a side note they also sell the very cool Gameboy inspired Retroflag GPi case!


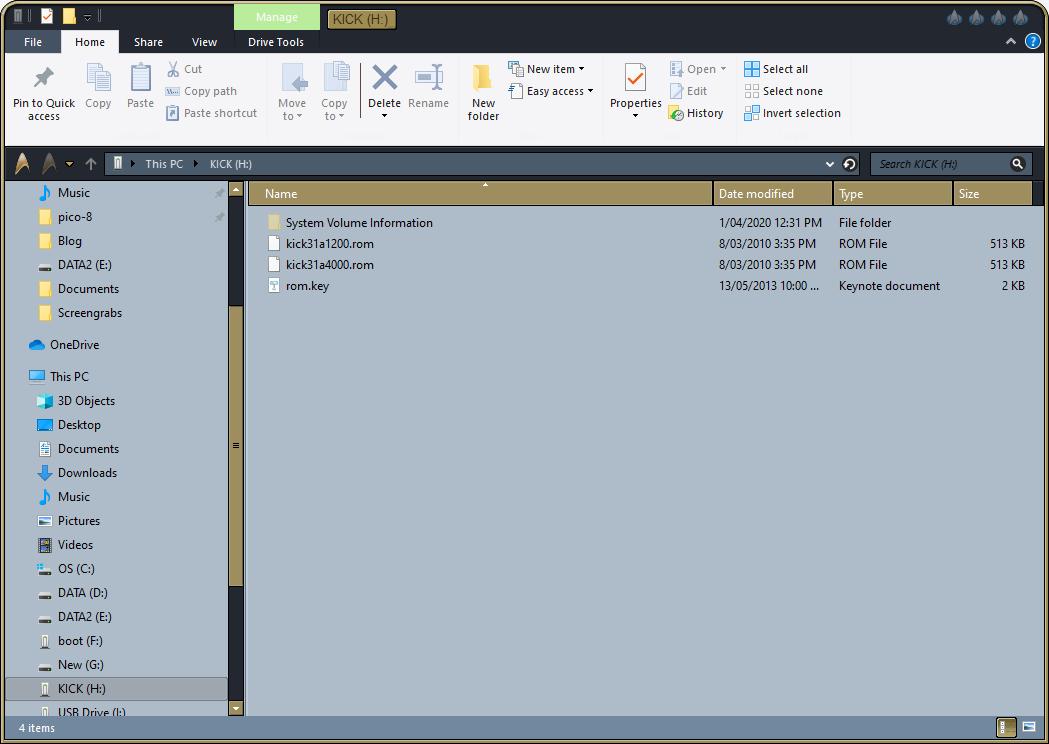
You can buy them from Cloanto. I got them as part of the Amiga Forever package, so I copied the 3.1 A1200 and A4000 kickstart roms (and the rom.key needed to decrypt) across to the MicroSD card KICK drive:

Once there, I needed to rename the two kickstart files to the convention required by the instructions in the PDF, as below:


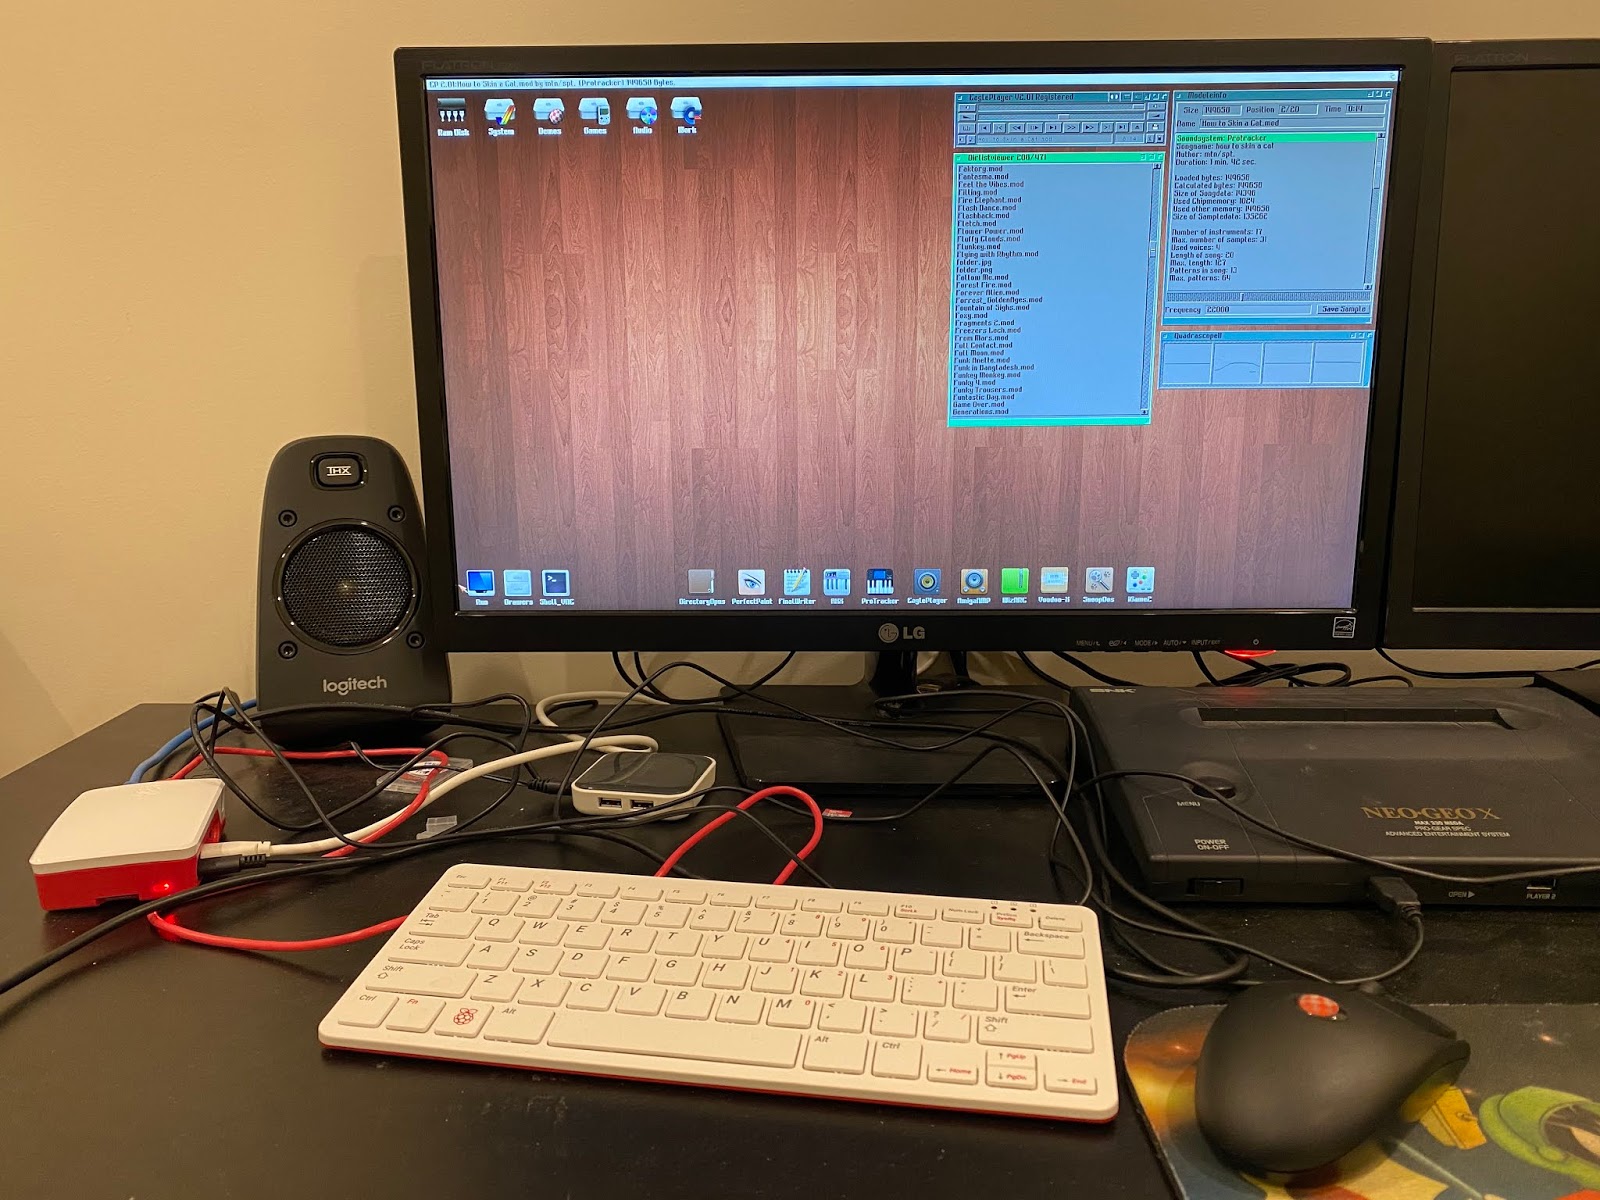
Something I found out though is that I needed to use the Micro HDMI port closest to the USB-C power adapter port on the Pi 4B to hear any audio output.
With that done the mod sounds came through loud and clear and I was very happy indeed!
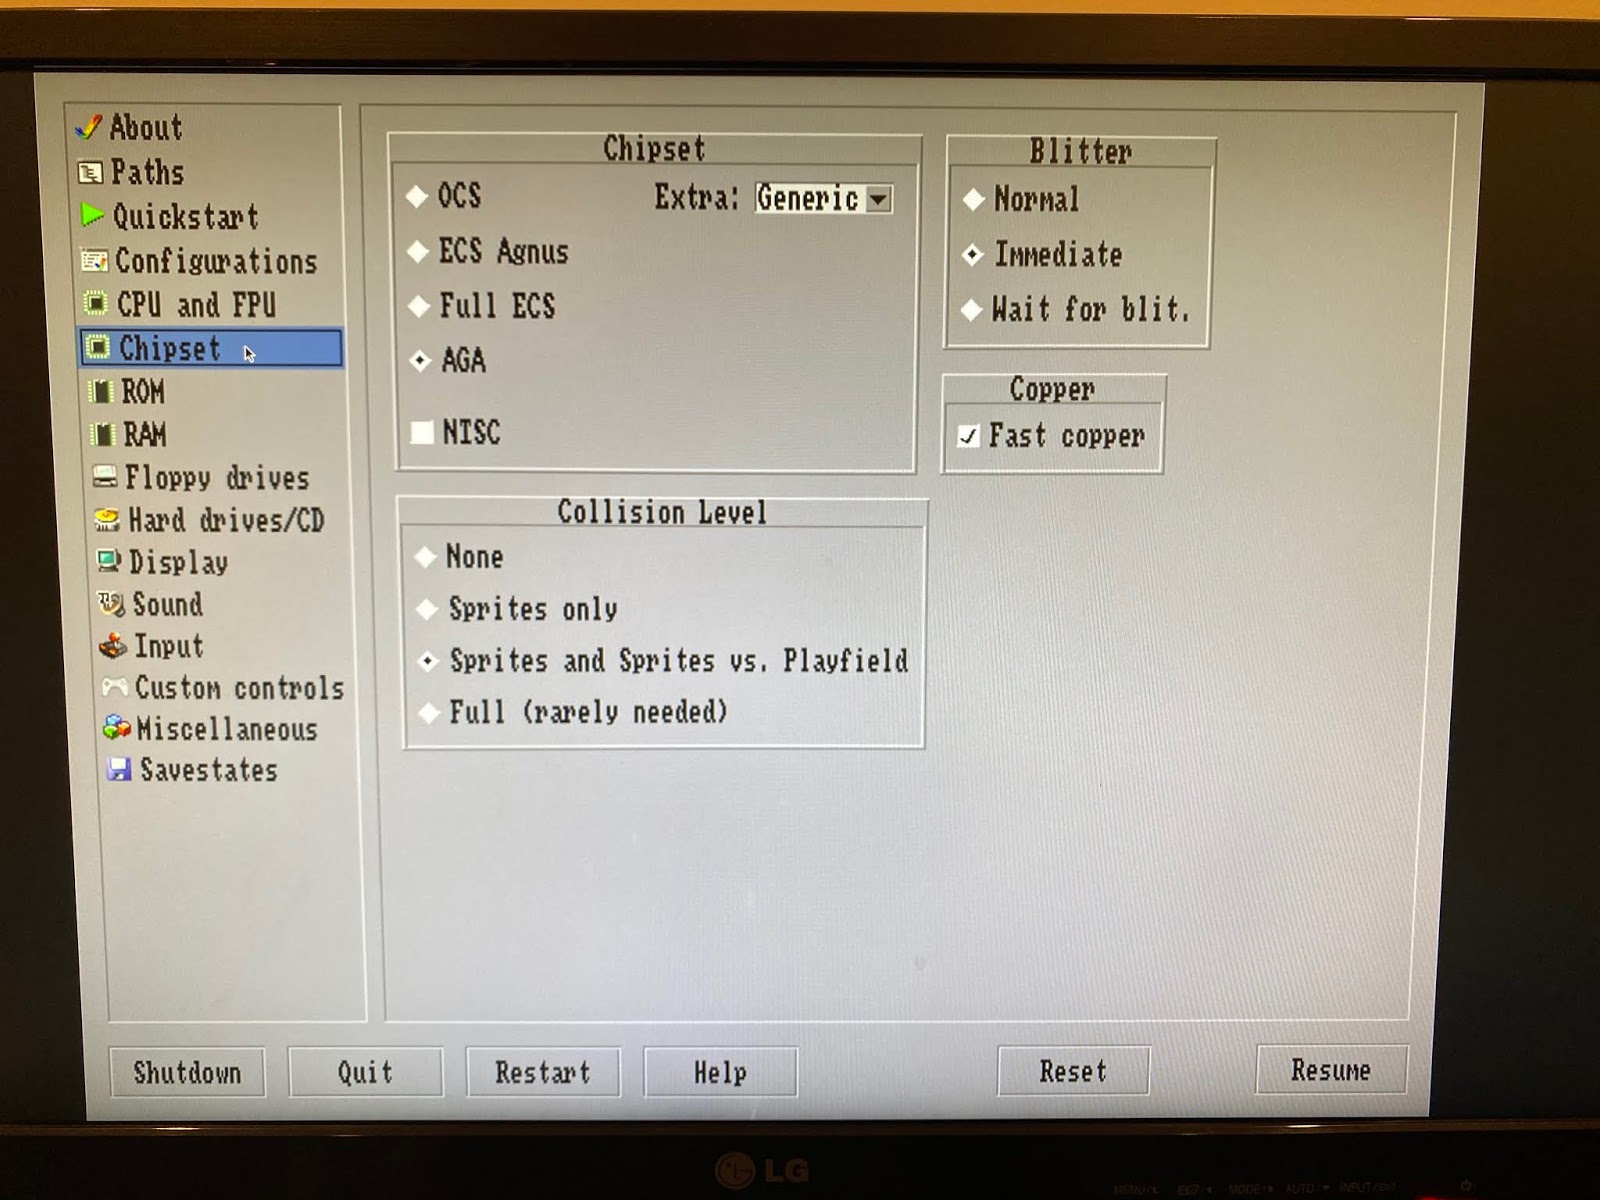
Under the hood, This is a Debian linux distribution, running the latest AmiBerry 3.1.3 Amiga emulation distribution. If you press the Function + F12 on the Raspberry Pi keyboard (F12 on a normal full sized keyboard) you get the Amiberry GUI, which allows you to view and change the Amiga emulation configuration, to reset the Amiga emulation, or shutdown the Pi 4 system:

Clicking through the various emulation options, you can see the A1200 configuration used by default is running 68020 AGA system, with 8MB chip and 128MB fast memory:


Being an A1200 emulation, it is using the AGA chipset:
Interesting part next is the hard disk folder setup. This shows that the various folders under linux are mapped to DHx devices under the emulation:


We can click the down arrow to select the USB joystick:


The author of the PiMiga package has gone to a lot of effort to do nice icons, and a logical structure to the program locations:

The prefs icons are unusual - I haven't seen icons like this before!

The backdrops of the windows for each drawer are colourful:

There are icons on the desktop for UAE Control parameters you can change, and also shortcuts to drawers - it is clear this appears to be using ClassicWB distribution which is modified a lot:


There are a number of emulators preinstalled, but I haven't tried these yet:

There is a large number of WHDLoad games preloaded on the PiMiga image, ready to run:

There are a bunch of demos too. Note that some need the A4000 configuration to run, some need the A1200 configuration to run, depending on their CPU requirements.

A close up of the drive icons, modelled on Mac Mini systems of old - but looks pretty cool:

There are a few example movies you can play out of the box on the PiMiga system:

Being a huge fan of modules, I am pleased to see there are a number of modules out of the box to enjoy, although I plan to add my own large collection to this in due course.

iGame is setup on the PiMiga system, and indexed with all the thousands of WHDLoad games ready to run on the system:

I have to admit, I am impressed with the work done on this setup, and grateful it saves me the time to do it myself!

I ran the SysInfo tool, which surprise surprise resulted in a very fast Amiga, way faster than any real Amiga can run!

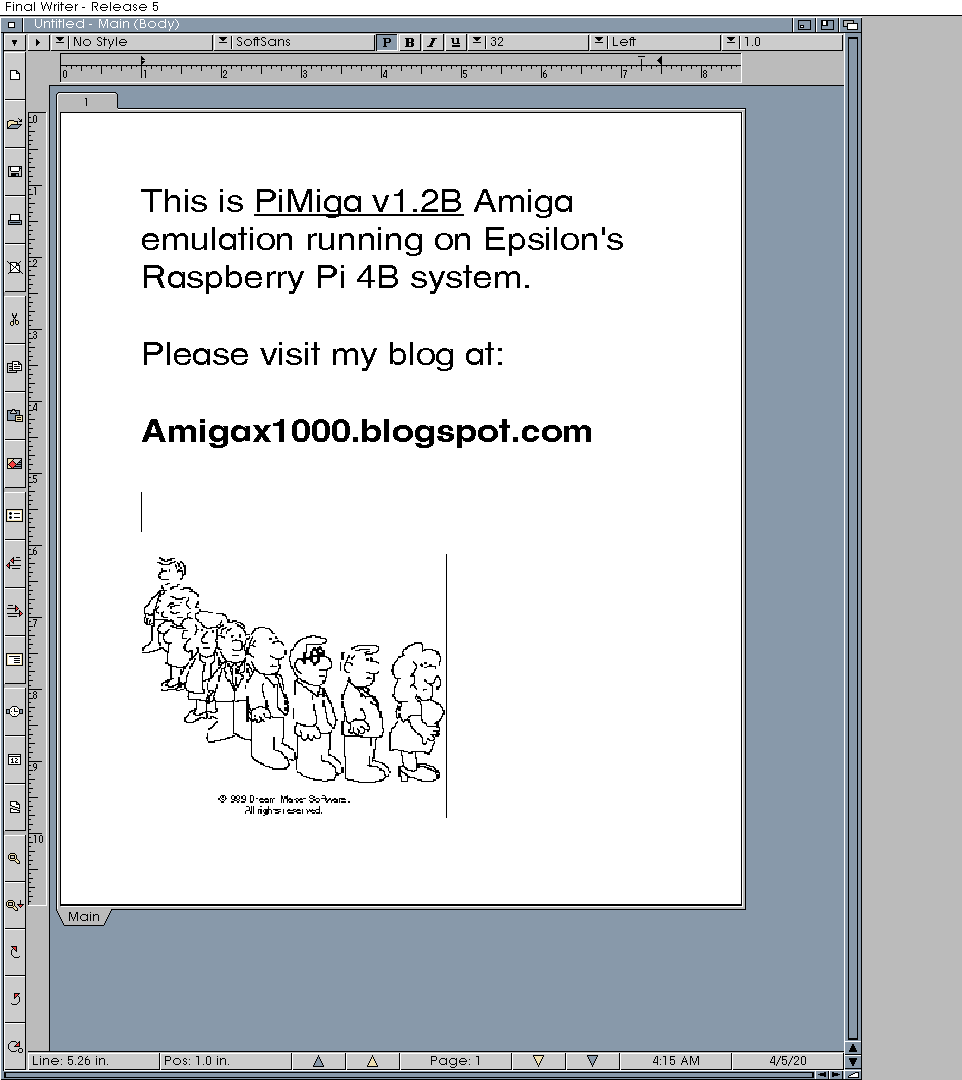
Final Writer 68k is also included, and it was nice to use under PiMiga:
The shell is VincEd Shell, which I am glad to see has been setup for tab completion for paths, etc.

There are a number of applications included, like AHX for chip tune composing:

Perfect Paint is installed for your graphic file manipulation needs:

Octamed Sound Studio is also installed:

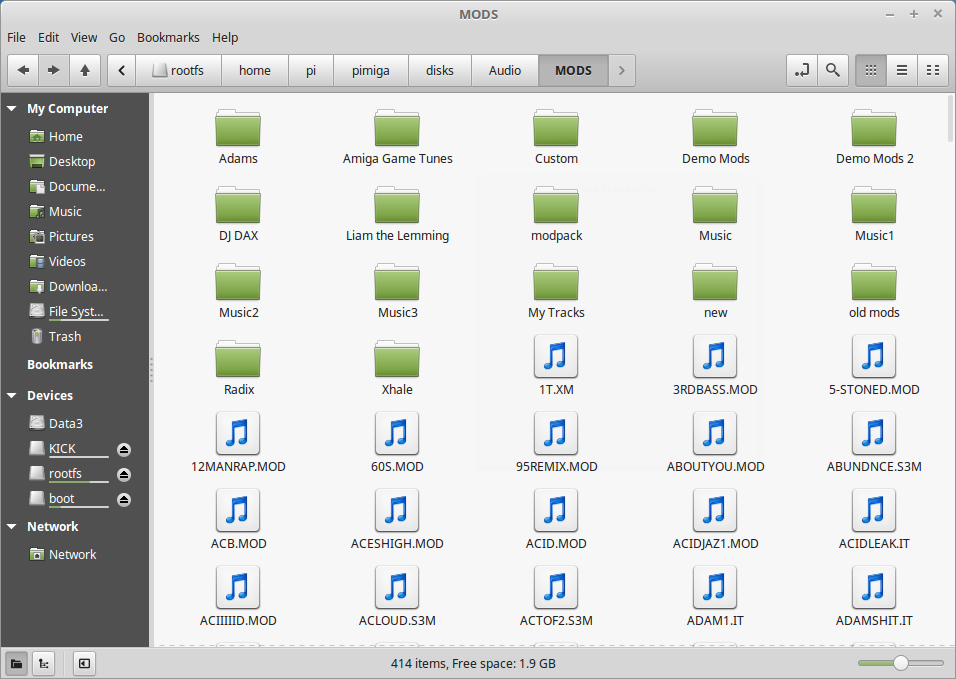
I shutdown the system and mounted the MicroSD on my separate Linux Mint system, so I could copy my mods, demos, ADF files and more to the card - you can see the Kick drive and rootfs are mounted on:

I copied a number of ADF's into to currently empty /home/pi/pimiga/adf folder on the MicroSD card:

I realise with the WHDLoad games on the HD you probably don't need ADF files, but I prefer to have them handy just in case.
I also put my Amiga 2000 HDF (taken from my real Amiga 2000 hard disk) into the empty HDF folder - I don't plan to set this up right now, but will do so at a later time.

Under the /home/pi/pimiga folder on the MicroSD you can see the various folders mounted as drives under PiMiga (AmiBerry):

I quickly added my favourite modules and demos to these folders:
I unmounted the MicroSD, removed from the Linux PC and inserted back into the Raspberry Pi 4B and booted again. The backdrop changes on each boot:
I tested some WHDLoad games, such as Agony, which ran well:

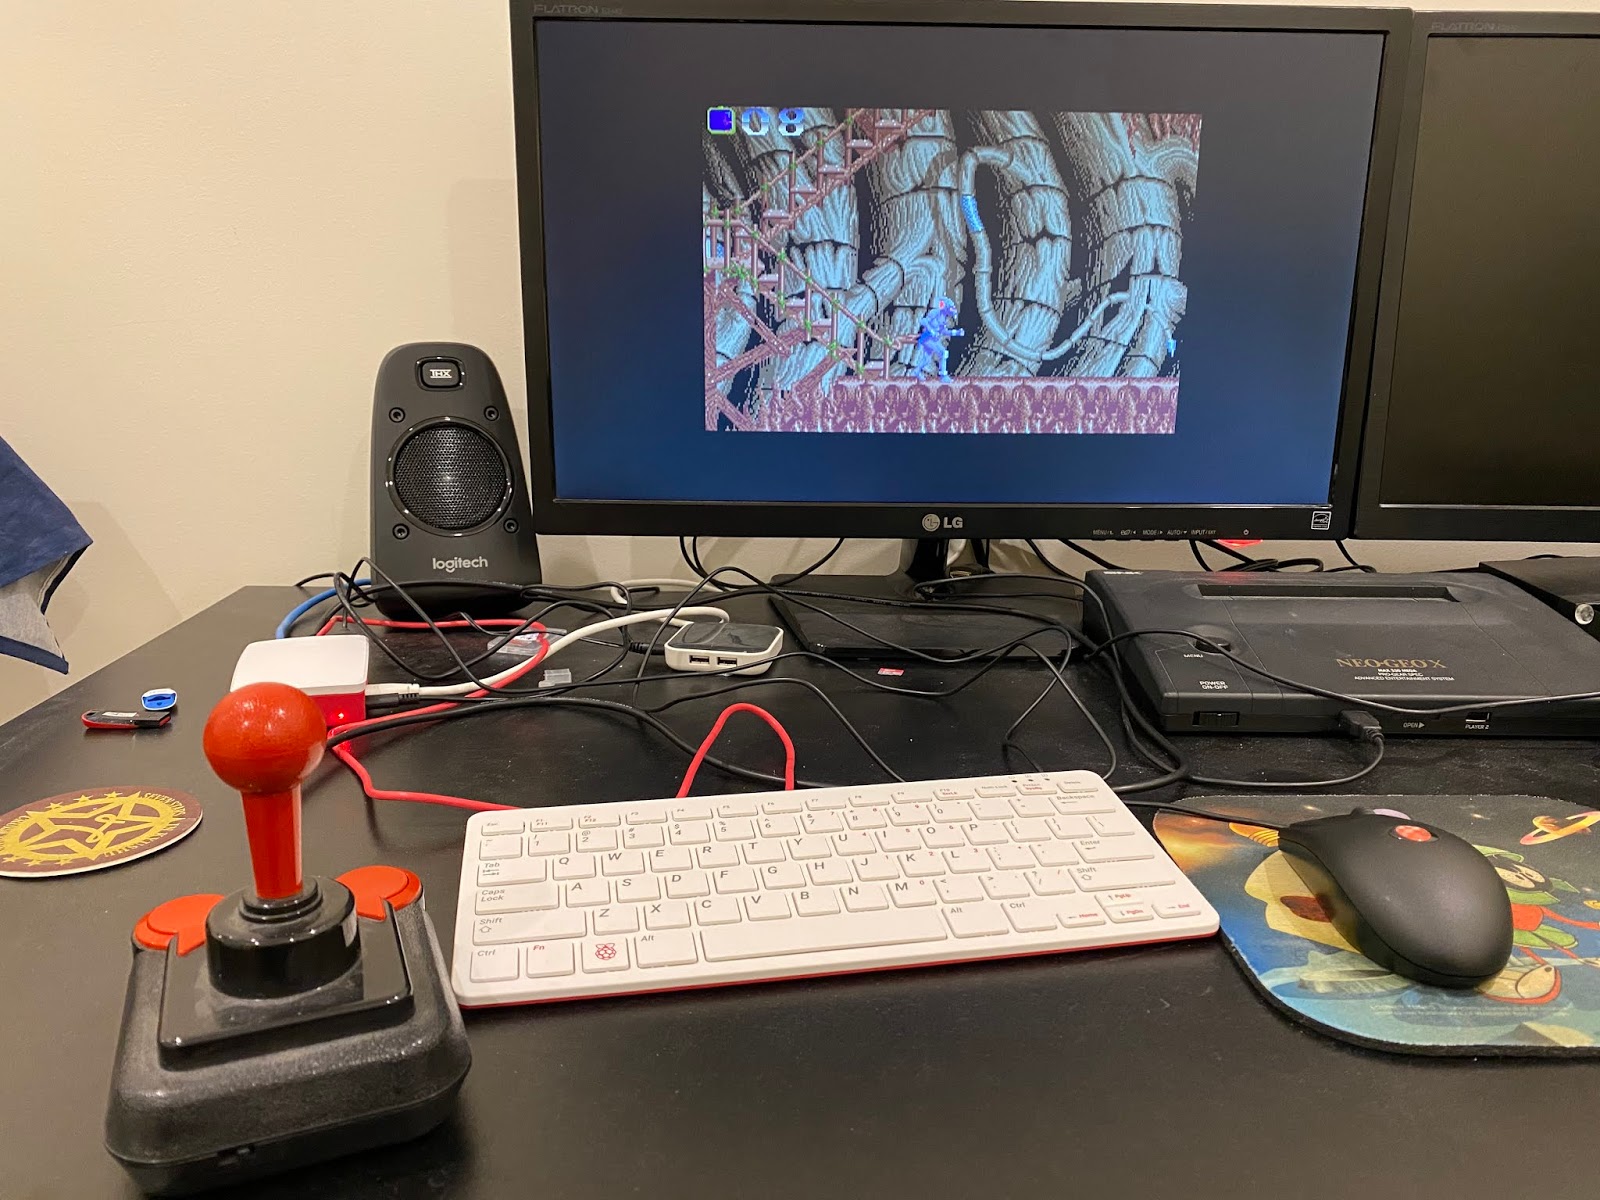
Shadow of the Beast also ran well:

The USB Joystick also works perfectly:
I also ran a few demos, as included on the distribution. There seems a small issue with iconx as provided in this image for icon launching of some demos, but apart from that, the demos run fine from the Amiga shell (which is how I normally run them anyway).

TBL's Starstruck demo runs flawlessly on the Pi4 using the A4000 configuration in Amiberry, which is great news!

Other demos, such as this one from Focus Design also ran well in A1200 020 configuration:

For me, the big thing was that AGA 060 demos run perfectly at full speed on the Pi4. I am very happy to see this, and makes the Raspberry Pi 4B a cheap and full speed Amiga emulation platform.


PiMiga is a free distribution to download and use, and is definitely worth trying out on your Raspberry Pi 4 today! (there is also a Raspberry Pi 3 version but I haven't tested that)
Please all keep safe out there!